Serve a bite of creativity with this Crochet Onigiri Sushi Pattern, perfect for cute gifts, quirky décor, and fun handmade charm.
Eye-Catching Crochet Onigiri Sushi Pattern for All Skill Levels

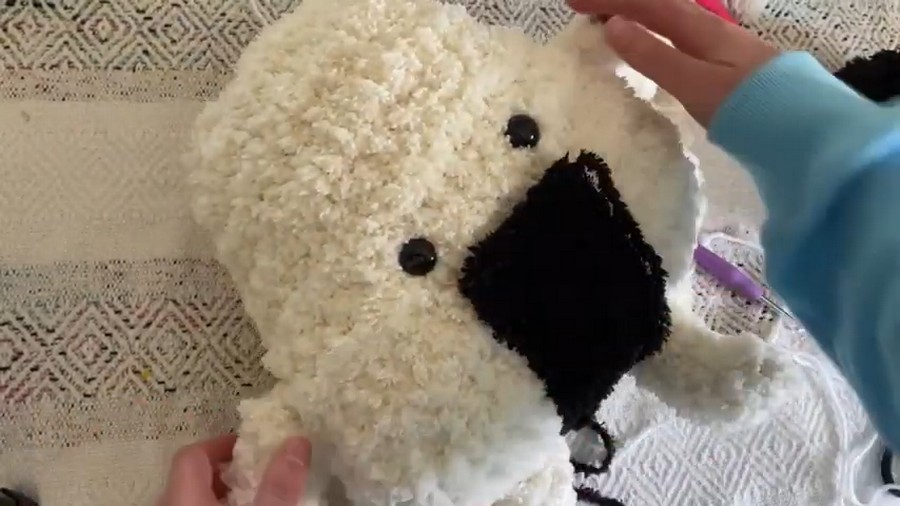
A simple snack can inspire charm far beyond the kitchen, turning a beloved treat into a playful companion. This crochet Onigiri sushi captures the familiar triangular shape, the contrasting seaweed wrap, and the delicate details that make this Japanese favorite instantly recognizable. Small and cheerful, it serves as a delightful decorative accent, a unique keychain, or a whimsical addition to a collection of handmade companions. Its compact form makes it perfect for gifting, carrying as a playful charm, or displaying on shelves, bringing a touch of fun and personality to everyday spaces.
Materials Needed
- Yarn:
- Gopher fleece sherpa yarn in cream for the body.
- Black yarn for the seaweed (you can use a similar yarn for consistency in texture).
- Crochet Hooks:
- 10mm hook (a 12mm hook is recommended if available).
- Yarn Needle: For sewing pieces together.
- Toy Stuffing: To give your sushi plush shape.
- Scissors: For trimming yarn.
- Optional: Safety eyes or black yarn for facial details.

The piece stands out through its precise shaping and charming details. Each corner, curve, and wrap is carefully balanced to create a recognizable and appealing miniature version of the classic onigiri. Light stuffing gives it structure while maintaining a soft, tactile feel, and its approachable construction makes it suitable for beginners while still satisfying experienced makers who enjoy attention to detail. The interplay of simple forms and thoughtful accents brings a lively, cheerful character to the finished piece.
Step-by-Step Details
Step 2: Creating the Body (Triangles)
Part 1: Start with a Starting Chain
- Create a starting chain of 20 stitches (or adjust based on desired pillow size).
- Row 1:
- Skip the first stitch.
- Single crochet into the second stitch and continue single crocheting across. This should give you 19 single crochets.
- Rows 2-7:
- Turn your work.
- Single crochet in each stitch across (19 single crochets per row).
- Complete a total of 7 rows.

Part 2: Shaping the Triangle
- Row 8:
- Start with a decrease: Insert your hook into the first stitch, pull up a loop, insert into the second stitch, pull up another loop, then yarn over and pull through all three loops (reducing to one stitch).
- Continue with single crochets across all remaining stitches (resulting in 18 stitches).
- Repeat the decreasing pattern for each subsequent row:
- Row 9: Reduce two stitches into one, then single crochet across to have 17 stitches.
- Row 10: Repeat decrease pattern to get 16 stitches.
- Continue this pattern until you are shaping towards the top.
- Final Rows:
- As you approach the top rows, decrease in the first two stitches and the last two stitches to round off the triangle.
- Ensure the shape is smooth without sharp points.
- Finalizing the Triangle:
- Once satisfied with the shape, fasten off and repeat the process to create a second identical triangle.

Step 3: Creating and Attaching the Limbs
Arms
- Create a Starting Chain of 7 Stitches:
- Skip the first stitch, single crochet across (6 single crochets).
- Repeat for a total of 4 rows of 6 single crochets.
- Fold Work in Half:
- Weave the sides together to avoid the need for stuffing. This technique helps keep the arms floppy and cuddly.


Legs
- Create a Starting Chain of 9 Stitches:
- Skip the first stitch, single crochet across (8 single crochets).
- Repeat for a total of 4 rows of 8 single crochets.
- Fold and Weave:
- Similar to the arms, fold and weave the sides together.
- Attach Limbs to Body:
- Sew arms and legs to the front triangle piece first, ensuring they sit correctly and add to the plush’s cuddly nature.
- Use long yarn tails for secure attachment.
4: Assembling the Plush
- Use a yarn needle and acrylic yarn to weave the two triangle pieces together around the sides and top, leaving a portion open at the bottom or side.
- Stuff the sushi plush with toy stuffing to desired firmness.
- Continue weaving and closing the opening securely.
5: Adding the Seaweed Detail
- Create a Starting Chain:
- Chain 25 stitches (or adjust based on your plush size).
- Single crochet in each stitch (24 single crochets).
- Adjusting Rows:
- Do an appropriate number of rows until you achieve the desired width to fit around your sushi plush.
- Attach the Seaweed:
- Position the seaweed strip around the plush, just under the face, and sew the ends together using a yarn needle.
- Secure it firmly but ensure it’s not too tight, allowing some flexibility.
Special Features
- Beginner-Friendly: This project doesn’t require advanced techniques but does need basic crochet and sewing skills.
- Cuddly and Cute: The use of fluffy yarn creates a soft, inviting texture.
- Personalizable: Add safety eyes or embroider a face for extra personality.
Level of Difficulty
Beginner to Intermediate: Suitable for those who have basic crochet experience and are comfortable with sewing the parts together. The techniques used are simple but assembling the plush requires patience and careful alignment.
Tutor’s Suggestions
- Use Appropriate Yarn: Fluffy yarn like gopher fleece gives the cutest texture but can be tricky to see stitches. Feel for stitches if you’re having difficulty seeing them.
- Check Proportions: Adjust the starting chain length and number of rows based on your desired plush size.
- Secure Limbs Well: Make sure to attach limbs securely to avoid them becoming loose during play or cuddling.
Uses
- Gifts: Ideal as a handmade gift for friends and family.
- Decor: Cute decoration for your home, nursery, or office.
- Toys: Soft and cuddly plush for children.
Pro Tip
When working with fluffy yarn, rely on your sense of touch to find and feel the stitches. This will help maintain the stitch pattern correctly without getting frustrated by the visibility.
Conclusion
Creating this cute sushi plush is an enjoyable and rewarding project suitable for beginners and experienced crocheters alike. With straightforward instructions and versatile uses, this plushie can be customized to your preferences and gifting needs.


