Charming Crochet Birthday Cake Pattern That Feels Magical

Celebrate in style with this Free Crochet Birthday Cake Pattern, perfect for festive décor, party displays, or adding a handmade touch to gifts.

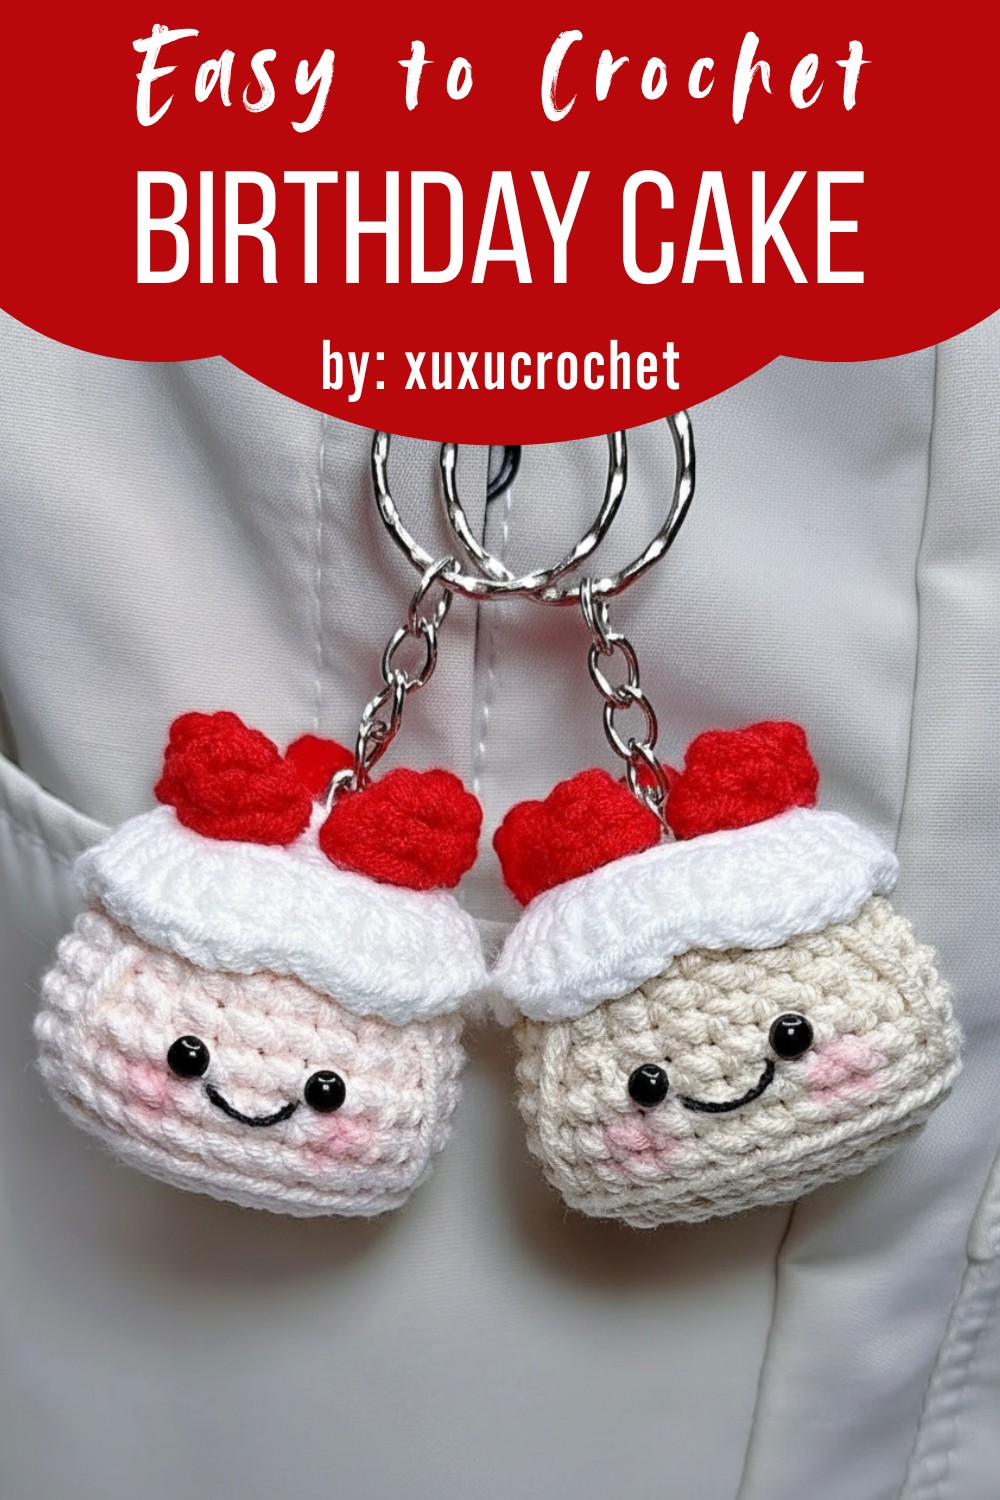
Unique Crochet Birthday Cake Pattern With Sweet Details

A birthday celebration becomes extra special with a handmade crochet cake that can be enjoyed year after year. Made with careful stitches, it shows off colorful layers and a playful look, just like a real cake, while staying soft, safe, and long-lasting. Perfect as a centerpiece, a keepsake gift, or even a fun toy for children, it adds a personal and creative touch that store-bought items can’t provide.

@xuxucrochet

This Mini Cake Keychain crochet pattern is the perfect way to add a touch of whimsy to your keys or bag. Whether you’re a beginner or an experienced crocheter, this adorable keychain features a charming cake base topped with a creamy layer and colorful strawberries.

Working on one also offers a relaxing and rewarding experience, helping improve focus, patience, and hand coordination. Crochet birthday cakes can be made in endless colors, sizes, and styles, matching any party theme or personality, making each piece one-of-a-kind. With their charming 3D texture and delightful appearance, they are more than just decorations—they are lasting treasures that bring creativity, joy, and a special handmade touch to every birthday celebration.

Materials

  • Yarn: Milky Cotton yarn (approx. 2mm thickness) in beige, white, red, and a small amount of black.

  • Hook: 2.5 mm crochet hook.

  • Eyes: Two 4mm safety eyes or beads.

  • Stuffing: Polyester fiberfill (cotton).

  • Tools: Keychain ring, hot glue gun, yarn needle, stitch markers, and pink blush for makeup.

Crochet Birthday Cake

It makes a wonderful handmade gift or a sweet treat for yourself. The project is simple to follow and can be customized with different yarn colors to match any theme or occasion. With the detailed step-by-step instructions provided, you’ll have a delightful mini cake keychain ready in no time!

Uses and Special Features

  • Keychain/Accessory: Its compact size makes it an ideal bag charm or keychain.

  • 3D Texture: The design uses “Back Loop Only” (BLO) stitches to create a distinct flat base and upright sides for the cake.

  • Scalloped Frosting: The white cream layer features a wavy, textured edge that looks like piped icing.

Cake Base (Using beige yarn)

  • Row 1: Create a magic ring with 5 single crochet stitches.

  • Row 2: Make a slip stitch to connect the row, chain one, and crochet an increase in each stitch until the end of the row.

  • Row 3: Make a slip stitch, chain one, and crochet an increase in each stitch until the end of the row.

  • Row 4: Make a slip stitch, chain one, and crochet a single crochet then an increase, repeating this pattern until the end of the row.

  • Row 5: Make a slip stitch, chain one, and crochet a single crochet in each stitch until the end of the row.

  • Row 6: Make a slip stitch, chain one, and crochet a single crochet in the back loop only of each stitch until the end of the row.

  • Rows 7-8: Make a slip stitch, chain one, and crochet a single crochet in each stitch until the end of the row.

  • Row 9: Make a slip stitch, chain one, and crochet 4 single crochets then one decrease, repeating this pattern until the end of the row.

  • Row 10: Make a slip stitch, chain one, and crochet a single crochet in each stitch until the end of the row.

  • Row 11: Make a slip stitch, chain one, and crochet 3 single crochets then one decrease, repeating this pattern until the end of the row.

  • Row 12: Make a slip stitch, chain one, and crochet a single crochet in each stitch until the end of the row.

  • Finish off, cut the yarn, and weave in loose ends. Stuff the cake base with cotton.

Cream Topping (Using white yarn)

  • Row 1: Create a magic ring with 5 single crochet stitches.

  • Row 2: Make a slip stitch, chain one, and crochet an increase in each stitch until the end of the row.

  • Row 3: Make a slip stitch, chain one, and crochet a single crochet then an increase, repeating this pattern until the end of the row.

  • Row 4: Make a slip stitch, chain one, and crochet two single crochets then an increase, repeating this pattern until the end of the row.

  • Row 5: Make a slip stitch, chain one, and crochet in the back loop only. The pattern is 1 half double crochet, (2 double crochet in one stitch) twice, and 1 half double crochet. Repeat this pattern around the entire row.

  • Finish off, cut the yarn, and weave in loose ends.

Strawberries (Make 5 using red yarn)

  • Row 1: Create a magic ring with 4 single crochet stitches.

  • Row 2: Make a slip stitch, chain one, and crochet one single crochet, followed by an increase, then one single crochet, and finally an increase.

  • Finish off and weave in the loose ends.

Assembly

  • Hot glue the cream topping onto the top of the cake base, aligning the seam of the cream to the back of the cake.

  • Hot glue the five strawberries onto the cream topping.

  • Place the two eyes on the third row down from the back-loop row of the cake base, with a two-stitch gap between them.

  • Use black yarn to embroider a mouth between the eyes.

  • Use a small amount of hot glue to secure the mouth.

  • Use beige yarn to embroider a cross pattern three stitches down below the eyes.

  • Add blush to the cheeks with blush powder.

  • Attach the keychain ring to the cake.

Level of Difficulty

  • Easy/Beginner: The project uses basic stitches (Single Crochet, Double Crochet, Half Double Crochet) and simple increases/decreases.

Tutor’s Suggestions

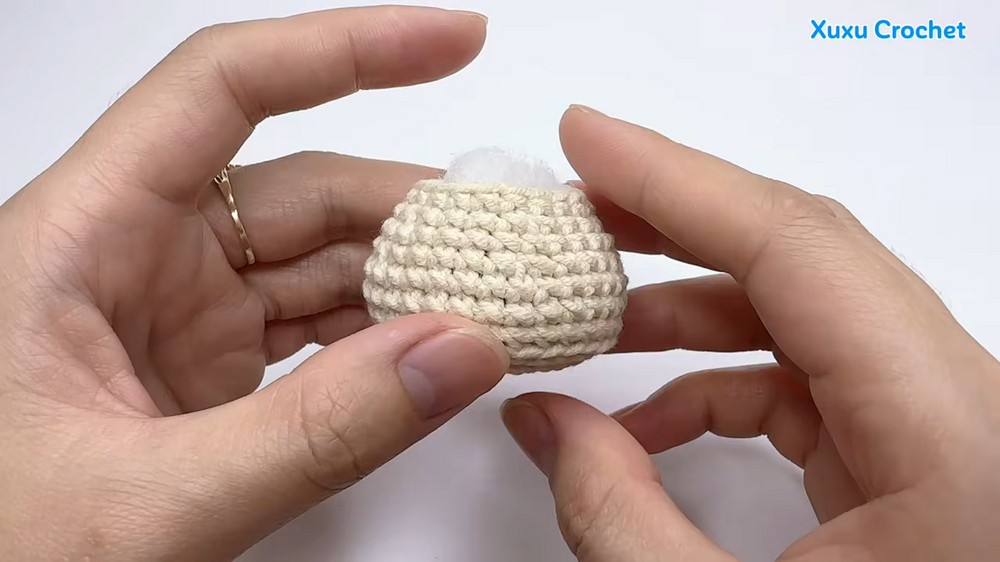
  • Stitch Marking: Always use a stitch marker on the first stitch of every round to avoid losing count, especially since the cake is worked in joined rounds.

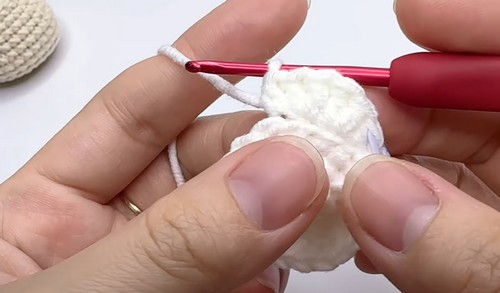
  • Alignment: When gluing the cream layer, ensure the “seam” (where you joined rounds) is placed at the back of the cake so the front looks perfect.

Conclusion

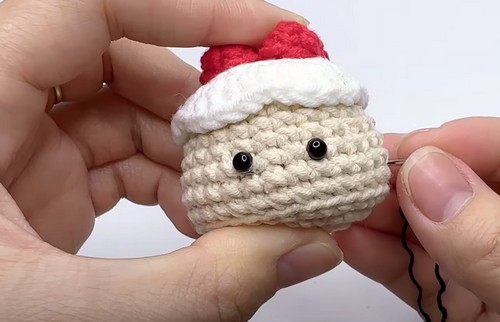
This mini cake is a quick and satisfying project that results in a professional-looking miniature. By combining simple geometric shapes and basic embroidery, you create a characterful piece that captures the charm of the “First Frost” aesthetic.

Pro Tip

To make the strawberries look more realistic, use a needle and a tiny scrap of yellow or white thread to add small “seed” flecks on the red surface before gluing them onto the cake.

Similar Posts

Leave a Reply

Your email address will not be published. Required fields are marked *