Delight in handmade charm with this Crochet Alpaca Pattern, perfect for cozy décor, cute gifts, and playful creative joy.
Playful Crochet Alpaca Pattern with Sweet Details

In quiet moments, a small, fluffy companion can take shape, capturing the gentle spirit of a beloved animal. This crochet alpaca radiates charm with its soft, rounded body, perky ears, and sweet expression, offering a sense of warmth and joy to anyone who encounters it. Perfect for display on shelves, desks, or nursery corners, it also serves as a delightful gift or collectible that adds personality and comfort to any space. Its compact size and endearing features make it an instant favorite for both children and adults.
Materials Needed
For this project, gather the following supplies:
- Yarn: Choose colors you love. A lighter yarn weight like DK or worsted is ideal for this small project.
- Crochet Hook: 3.5mm or a size suitable for your yarn.
- Toy Stuffing: To give your alpaca shape.
- Yarn Needle: Used for weaving ends and sewing the head shut at the end.
- Scissors: For trimming yarn ends.
- Optional Details: Embroidered mouth and eyes using black yarn (or plastic safety eyes for ease).

The alpaca stands out through its careful shaping and subtle details. Its rounded legs, expressive face, and plush texture give it a lifelike yet whimsical appearance, while light stuffing ensures it holds its form beautifully. The project is approachable for beginners while offering satisfying precision for experienced makers who enjoy attention to detail. Each component comes together to create a balanced, huggable figure that captures the gentle nature of the animal.
Step-by-Step Details
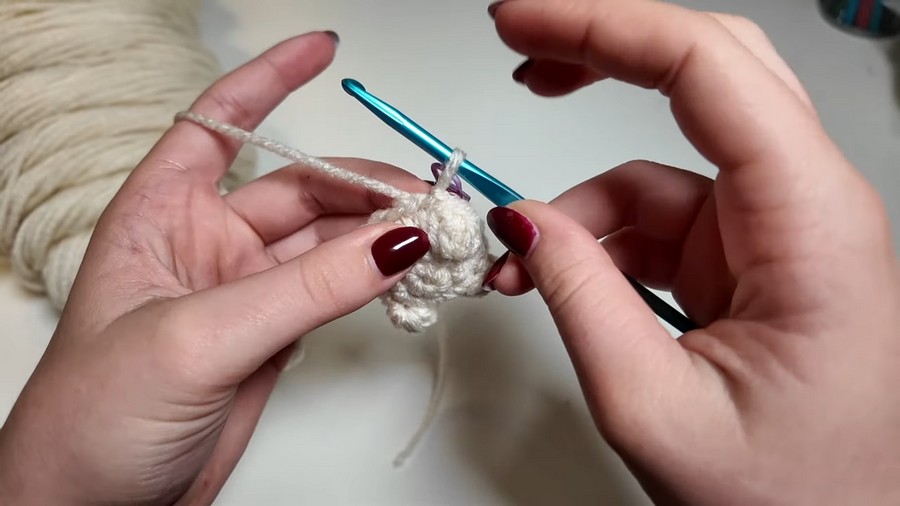
Step 2: Start with a Magic Ring
- Create a magic ring:
- Hold the tail end of your yarn in your right hand.
- Wrap the yarn around two fingers of your left hand to create an “X” pattern.
- Insert your crochet hook under the first loop, pull the second loop through, then yarn over and pull through the loop on your hook.
- In the magic ring, crochet 6 single crochets:
- Insert your hook into the ring, yarn over, pull up a loop (two loops on the hook).
- Yarn over again and pull through both loops to complete the single crochet.
- Repeat this process for a total of 6 single crochets.
- Tighten the ring by pulling the tail end of the yarn. Slip stitch into the first single crochet to complete the round.
Step 3: Row 2 – Start Increasing Stitches
- Chain 1 to begin the next row.
- Work 2 single crochets into each stitch (increase in each stitch).
- By the end of Round 2, you will have 12 stitches.
- Slip stitch into the first stitch to close the round.
4: Row 3 – Add Bobble Stitches for the Legs
- Use a stitch marker to keep track of your rounds.
- Begin with Chain 1.
- Work the following pattern:
- 1 Single Crochet in the first stitch.
- Increase in the next stitch (2 single crochets in one stitch).
- Bobble Stitch into the next stitch.
How to Make a Bobble Stitch:
- Yarn over, insert the hook into the stitch, yarn over and pull up a loop (three loops on hook).
- Yarn over and pull through two loops.
- Repeat this process 5 times until you have 5 loops on your hook, then yarn over and pull through all loops.
- Push the bobble outward to sit correctly.

- Continue repeating the pattern of Single Crochet, Increase, and Bobble Stitch to create 4 legs. Slip stitch into the first stitch and chain 1 to end the round.
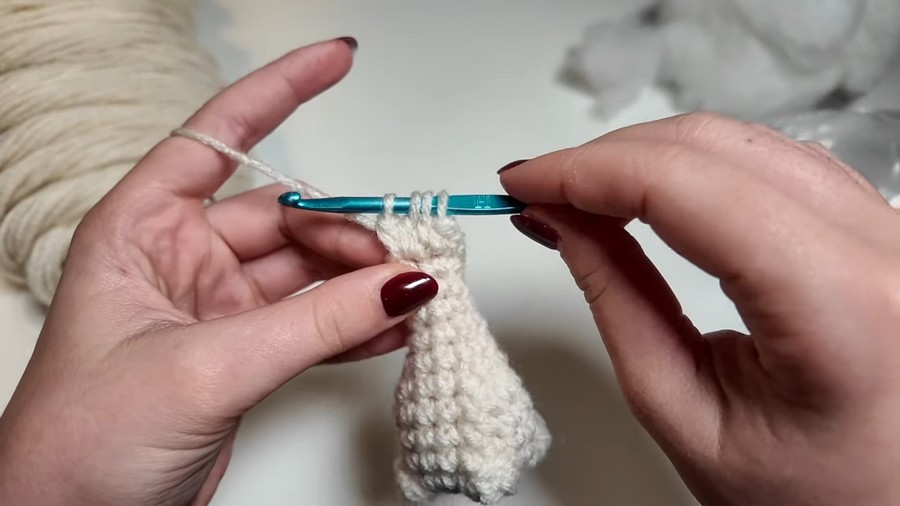
5: Build the Body
For Rows 4-6:
- Work 1 single crochet in each stitch all the way around.
- Slip stitch into the first stitch at the end of each round, tightening as needed.
- After Row 6, add toy stuffing into the body of the alpaca.
6: Shape the Neck and Head
Row 7 – Decrease Stitches:
- Crochet 1 single crochet in the first 4 stitches.
- Work 4 decreases:
- Insert your hook into the front loop of the first stitch and back loop of the second stitch.
- Yarn over, pull through both loops, and then complete the single crochet.
- Finish the round with 4 single crochets. Slip stitch into the first stitch.
Row 8:
- Crochet 1 single crochet in the first 3 stitches.
- Work 3 decreases, then crochet 1 single crochet in the last 3 stitches.
- Stop and add stuffing into the neck as needed.
Rows 9-10:
- Work 1 single crochet in each stitch around to elongate the neck.
- Stuff the neck as needed before continuing.
7: Finish the Head
Increase Stitches for the Head:
- In Row 11, work increases to widen the head:
- Work 2 single crochets into the first stitch (increase).
- Follow with 1 single crochet, another increase, and single crochets around.
Row 12 – Add Bobble Stitches for Ears:
- Work single crochet in the first 2 stitches.
- Add mini bobble stitches to form ears:
- Similar to the legs’ bobbles, but stop at 4 loops on hook instead of 5.
- Crochet single crochets and decreases near bobble stitches to shape the head and ears.
- Repeat the ear creation steps symmetrically on the opposite side.
8: Sew and Finish the Alpaca
- Fasten off: After the final row, cut the yarn, leaving a long tail to sew the head closed. Pull the last loop tight to secure.
- Stuff the alpaca’s head fully before sewing the top closed.
- Flatten the head and use a yarn needle to weave the tail through the edges, sewing the top shut.
- Optional: Add small embroidery details for the eyes and mouth using black or colored yarn. You may also attach a chain to transform the alpaca into a keychain!

Special Features
- Adorable Design: The finished alpaca is cute and customizable to your color and style preferences.
- Compact Size: Small enough to turn into keychains, bag charms, or little gifts.
- No Long Sewing Pieces: The bobble stitches and base crochet steps simplify the structural process for beginners.
- Customizable Facial Details: You can personalize the alpaca with or without a face, and adjust yarn colors for a spotted or solid alpaca!
Level of Difficulty
Beginner to Intermediate: While many steps are accessible for beginners, techniques like the magic ring, bobble stitches, and decreases can be a little tricky to learn initially. With patience and practice, this project offers an excellent way to improve your crochet skills without being overwhelming.
Tutor’s Suggestions
- Practice the Bobble Stitch: Take your time to master bobble stitches as they are central to creating the alpaca’s legs and ears. Push the bobbles outward to shape them correctly.
- Use a Stitch Marker: Tracking rounds prevents confusion, especially during complex rows involving shaping.
- Stuff Strategically: Adding stuffing at key intervals (body, neck, head) ensures the alpaca retains its shape and is easier to assemble.
Uses
- Gifts: Perfect handmade presents for friends, kids, or anyone who adores animals!
- Accessories: Turn the alpaca into a keychain, bag charm, or phone accessory.
- Decor: Use it as a cute desk, shelf, or nursery decoration.
Pro Tip
When working with small projects, focus on maintaining consistent tension to avoid stretching the stitches or distorting the shape. If adding facial details, keep them subtle—a hint of embroidery can go a long way!
Conclusion
This tiny alpaca crochet pattern is a delightful and rewarding project for anyone looking to project something cute and memorable. With minimal sewing and simple stitches, it serves as an excellent project to elevate your crochet skills. Perfect for gifting or personal use, this miniature alpaca can be customized for any occasion.


