Enjoy this unique and free Crochet Carrot Keychain Pattern to make a charming, colorful accessory that’s perfect for gifting or everyday use.

Sweet Crochet Carrot Keychain Pattern to Brighten Your Day
There’s something undeniably charming about everyday items that are handmade, especially when they combine creativity with functionality. A crochet carrot keychain isn’t just a cute accessory—it’s a splash of color that can liven up your keyring, backpack, or even your gift packaging. Its vibrant orange body paired with a playful green top makes it eye-catching and joyful, a little piece of art you can carry everywhere.
Crocheting a carrot keychain is a fun and creative project that can add a quirky touch to your keys or bags. This step-by-step crochet pattern is designed to guide you through creating a vibrant carrot with detailed instructions for both the carrot body and the leaves.
Plus, it’s a sustainable way to create unique pieces instead of buying mass-produced trinkets. Whether you’re looking for a gift idea, a way to personalize your accessories, or just a quick crochet project, this carrot keychain is packed with charm and creativity!
Crochet Carrot Keychain
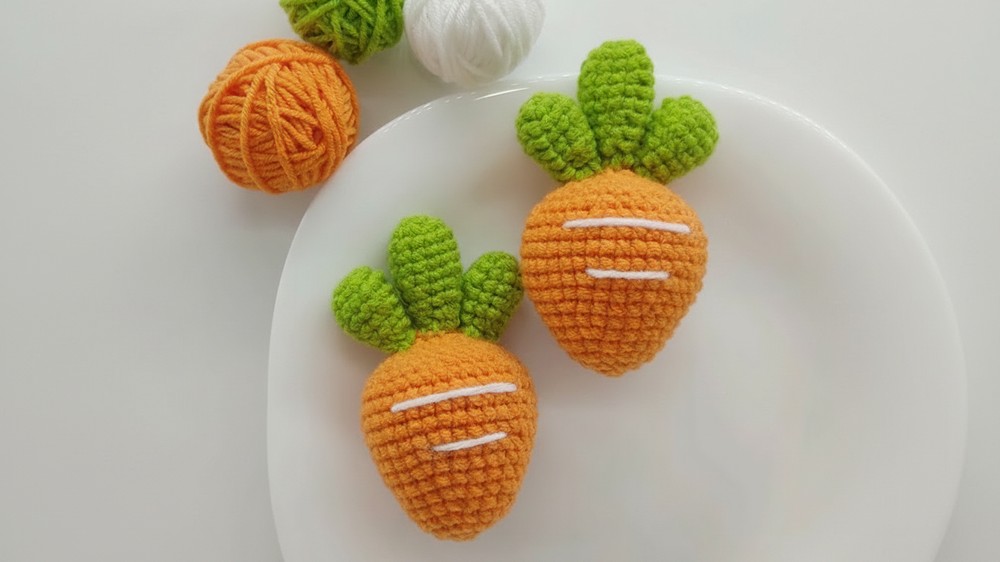
Whether you’re a beginner or an experienced crocheter, you’ll love how simple it is to bring this delightful project to life. The carrot itself offers a cozy, textured look with vibrant orange tones, while the green leaves add a touch of charm. This keychain makes a great gift or a cute DIY project to keep for yourself, and you can easily customize it with different yarn colors or by adding a personal touch with embellishments.
Main Body of the Carrot
-
Row 1: Make 6 single crochets in a magic ring.
-
Row 2: Make 6 increases (two single crochets in each stitch).
-
Row 3: Repeat the pattern of one single crochet and one increase, six times.
-
Row 4: Make one single crochet in each of the 18 stitches.
-
Row 5: Repeat the pattern of two single crochets and one increase, six times.
-
Row 6: Make one single crochet in each of the 24 stitches.
-
Row 7: Repeat the pattern of three single crochets and one increase, six times.
-
Row 8: Make one single crochet in each of the 30 stitches.
-
Row 9: Repeat the pattern of two single crochets, one increase, and two single crochets, six times.
-
Rows 10-13: Make one single crochet in each of the 36 stitches.
-
Row 14: Repeat the pattern of two single crochets, one decrease, and two single crochets, six times.
-
Row 15: Repeat the pattern of three single crochets and one decrease, six times.
-
Row 16: Repeat the pattern of one single crochet, one decrease, and one single crochet, six times. Insert fiber cotton filling at this point.
-
Row 17: Repeat the pattern of one single crochet and one decrease, six times.
-
Row 18: Make six decreases.


Leaves
- The pattern includes two small leaves and one large leaf using green yarn.
All Leaves (Small and Big):
-
-
Row 1: Make 6 single crochets in a magic ring.
-
Row 2: Make 6 increases.
-
Row 5: Repeat the pattern of two single crochets and one decrease, three times.
-
Row 6: Make one single crochet in each of the 9 stitches.
-
Row 7: Repeat the pattern of one single crochet and one decrease, three times.
-

Differences:
-
-
For the two small leaves, follow the pattern as described above.
-
For the one big leaf, after completing Row 2, add two extra rows (Rows 3 and 4) of one single crochet in each of the 12 stitches before continuing with the rest of the pattern.
-