Enjoy this free crochet pouch bag charm pattern to make a cute, functional accessory perfect for keeping your small essentials organized.
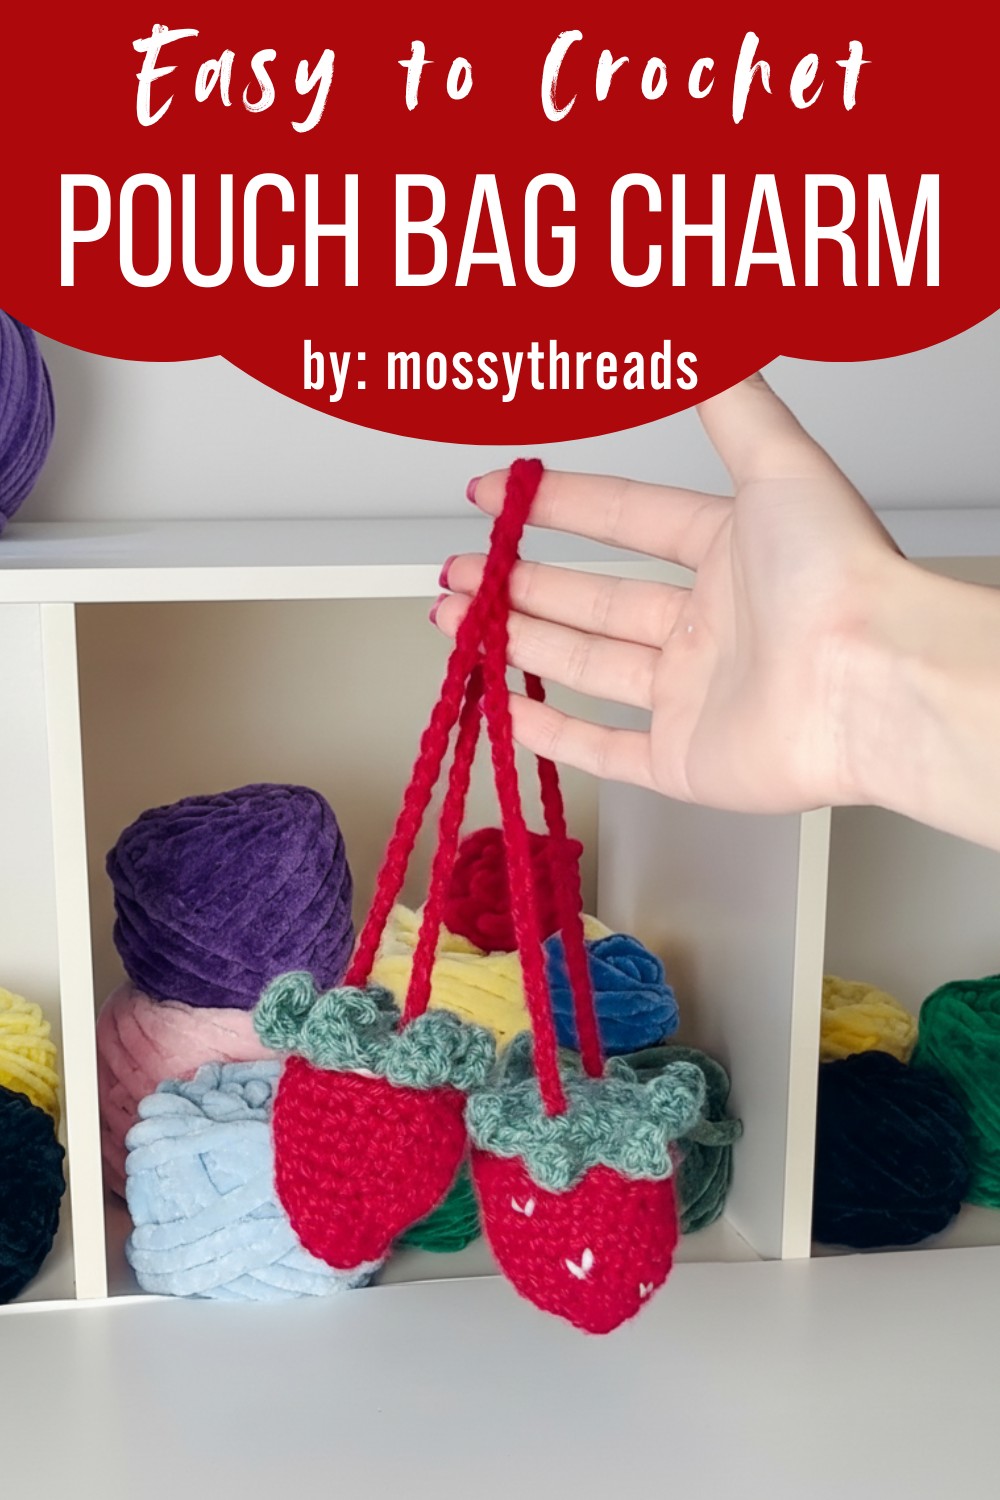
Stylish Crochet Pouch Bag Charm Pattern for Handy Accessories
Small crochet pouch bag charms are the perfect blend of beauty and functionality, offering a unique way to keep your essentials organized while adding charm to your accessories. These adorable creations are both decorative and practical, making them ideal for carrying tiny items like coins, keys, earbuds, or even small treasures. With their customizable designs, you can create patterns that reflect your personality, from playful shapes to elegant textures.
If you’re looking to make a cute, functional crochet accessory, this strawberry pouch pattern is a perfect project! Whether you want to store your little essentials or simply create a sweet and decorative piece, this crochet pouch offers versatility and charm.
Crochet pouch bag charms are lightweight, easy to attach to backpacks, handbags, or even as keychains, meaning they’re always within reach. Their handcrafted design makes them an excellent handmade gift, showing thoughtfulness and creativity. Additionally, making them allows you to improve your crochet skills, and thanks to their quick and simple patterns, they’re perfect for beginners and experts alike. Whether you want to organize better or add a pop of handmade beauty to your accessories, crochet pouch bag charms are the ultimate blend of style and usefulness!
Materials Needed
To make the crochet strawberry pouch, gather the following materials:
- Yarn:
- Green acrylic yarn for the stem.
- Red or pink acrylic yarn for the body of the strawberry.
- (Optional) White acrylic yarn for seeds.
- Crochet Hook: Use a 5 mm crochet hook.
- Darning Needle: To weave in ends and sew on details like leaves and seeds.
- Scissors: For trimming yarn neatly.
- Stitch Marker: Essential for keeping track of rounds (alternatively, use bobby pins, paper clips, or safety pins).
- Stuffing: Not required, as the pouch itself is hollow for storage.
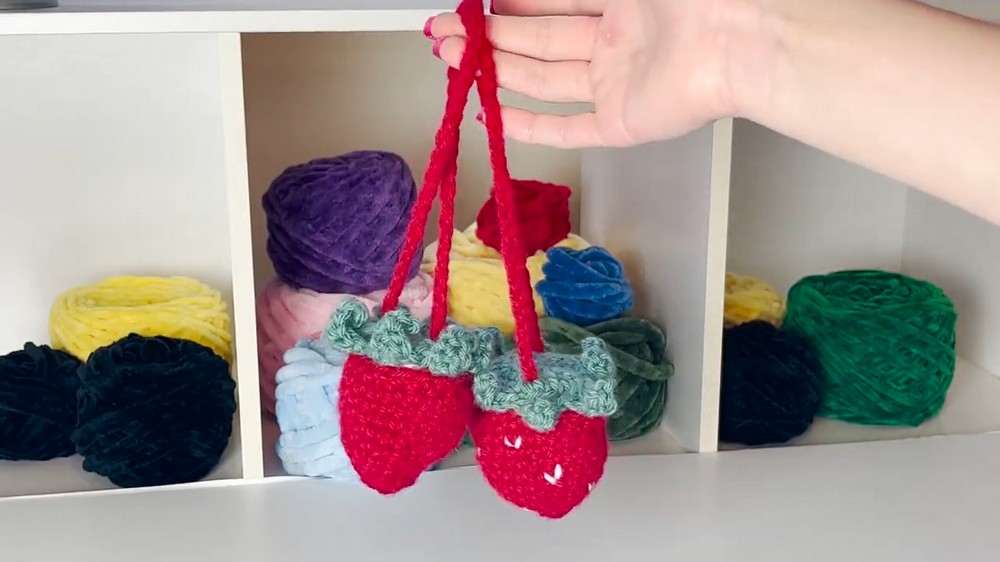
Crochet Pouch Bag Charm
The easy-to-follow steps guide you through crafting both the vibrant strawberry body and its cute stem with leaves. Customize the pouch to fit your needs, and you can even experiment with different yarn colors to make each one uniquely yours!
Uses of the Crochet Strawberry Pouch
- Bag Accessories: Attach it to backpacks, handbags, or keychains using the strap.
- Storage for Tiny Items: Great for coins, jewelry, hairpins, or small collectibles while on the go.
- Decor: Display it as a fun, handmade decorative item.
- Unique Gifts: Perfect for memorable and cute gifts for friends or loved ones who appreciate handmade crafts.
Special Features
- The pouch design incorporates an openable and hollow space, allowing it to serve both as a functional item and a decorative charm.
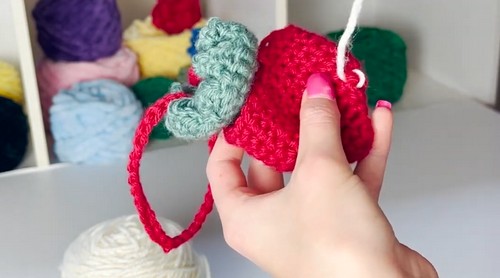
- The adorable strawberry shape is enhanced with a green top (stem) and optional embroidered seeds for added detail.
- The detachable strap can be customized in length to suit individual preferences.
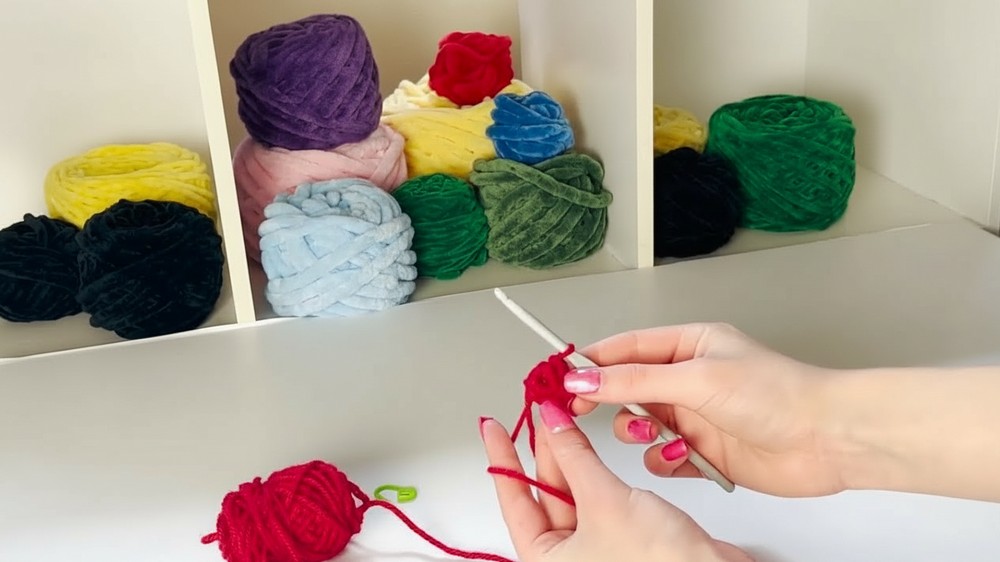
The Strawberry Pouch
-
Round 1: Start with a magic circle and put six single crochets into it.
-
Round 2: Place a single crochet in the first loop and a stitch marker. Put another single crochet into each stitch of the row.
-
Round 3: Increase in every single stitch by placing two single crochets into the same stitch.
-
Round 4: Single crochet, then increase, and repeat this pattern around.
-
Round 5: Single crochet twice, then increase. Repeat this pattern around. This is the last increase row.
-
Rounds 6-11: You should have 24 stitches. Single crochet all the way around for each of these rows.
-
Adding the Strap: After row 11, chain about 50 for the strap. Do not fasten off.

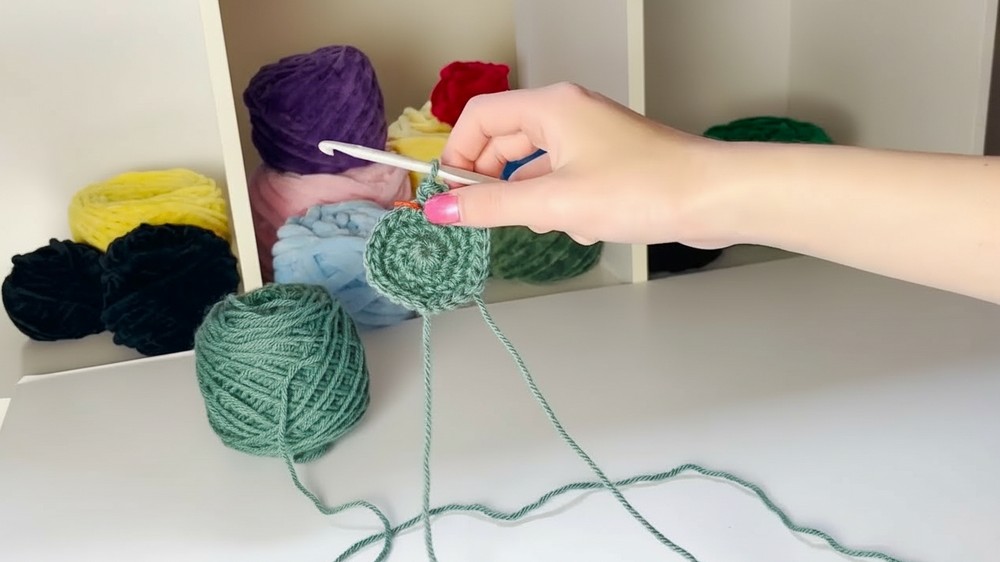
The Stem
-
Round 1: Create a magic ring and place six single crochets into it.
-
Round 2: Start with a single crochet and place a stitch marker, then add another stitch in the same loop for an increase. Place your next stitch in the next loop and continue around until you have 12 stitches.
-
Round 3: Single crochet and then increase, repeating the pattern around.
-
Round 4: Single crochet twice, then increase, repeating the pattern around.
-
Adding the Leaves:
- Slip stitch and place your stitch marker.
- Chain five.
- In the second stitch from the hook, place a single crochet. Do two more single crochets in the next two stitches.
- In the last stitch on this chain, do a half double crochet.
- Skip two stitches along the stem and place a slip stitch into the third one. Repeat this for all the remaining leaves.
-
Finishing the Stem: Once you’ve completed the last leaf, count two stitches, slip stitch into the third, and then fasten off the yarn.
Assembly
-
Weave in the Ends: Use a darning needle to weave in the tail of the green yarn.
-
Attach the Pouch and Stem: Use a hook to pull the tail from the strawberry pouch through a part of the stem to attach them.
-
Add Strawberry Seeds: Using white yarn and a darning needle, create small V-shapes to represent seeds.
Level of Difficulty
This project is beginner-friendly with simple stitches like the magic circle, single crochet, increases, and half-double crochet. If you’re familiar with following crochet rounds and creating small details, you’ll find the process straightforward and enjoyable.
Tutor’s Suggestions
- Use bright, contrasting yarn for a pop of color.
- Don’t skip the stitch marker! This makes tracking your work easier and ensures the pouch shape is symmetrical.
- Gently weave in ends to avoid bulk, especially around the stem and strap.
- Customize the strap length to suit its intended use (e.g., keychain or backpack charm).
Conclusion
The Crochet Strawberry Pouch is a simple and satisfying project that combines creativity and practicality. It serves as both a decorative and functional accessory, making it appealing for crafters of all levels. With a compact size, neat design, and customization options, this pouch adds a whimsical charm to bags or functions as a thoughtful handmade gift.
Bonus Tip
To make the pouch sturdier, choose medium-weight yarn, and don’t skip reinforcing the strap when attaching it to the stem—you want it to stay secure while in use!


