Bring playful charm with this Crochet Dinosaur Pattern that captures cute prehistoric vibes and fills every space with fun and personality.
Soft Crochet Dinosaur Pattern for Kids and Collectors
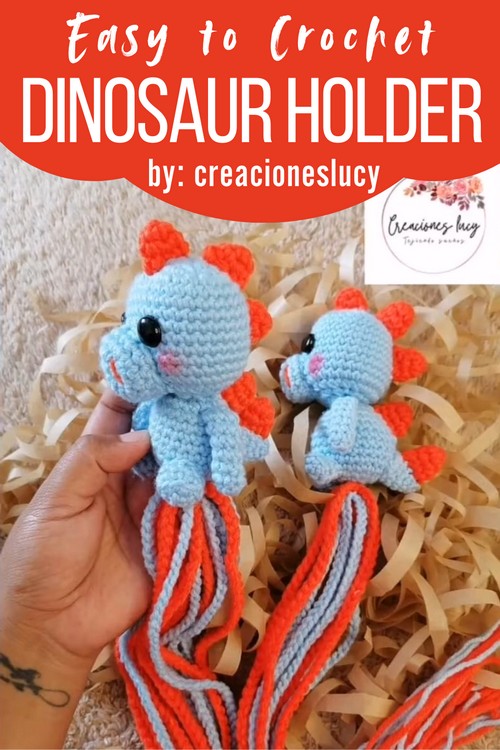
There’s something magical about turning simple yarn into an imaginative character, and this crochet dinosaur pattern brings playful creativity to life. This pattern showcases a charming design complete with rounded features, bold spikes, and a recognizable tail, making it a captivating addition to any space. With its vibrant color possibilities and intricate details, it’s perfect for a gift, nursery décor, or a cheerful accent for a child’s room.
Not only does this crochet pattern offer an opportunity to create something visually stunning, but it also encourages relaxation and creativity, making it a truly engaging experience. This cheerful dinosaur design is versatile in its uses, it can serve as a playful toy, charming décor, or even a heartfelt gift for someone special.
Materials and Tools
- Yarn/Thread: Amigurumi-style yarn in two main colors (one base color, e.g., Pink, and one accent color for the spikes, e.g., Purple).
- Crochet Hook: No. 3 hook for the dinosaur body; a larger hook (No. 4.5) is suggested for the color strands to make them looser.
- Stuffing: Fiberfill (or relleno).
- Accessories:
- Safety Eyes (Tutor uses 1.2 cm eyes).
- Stitch marker, tapestry needle, and scissors.
- Blush or rubor for the cheeks.
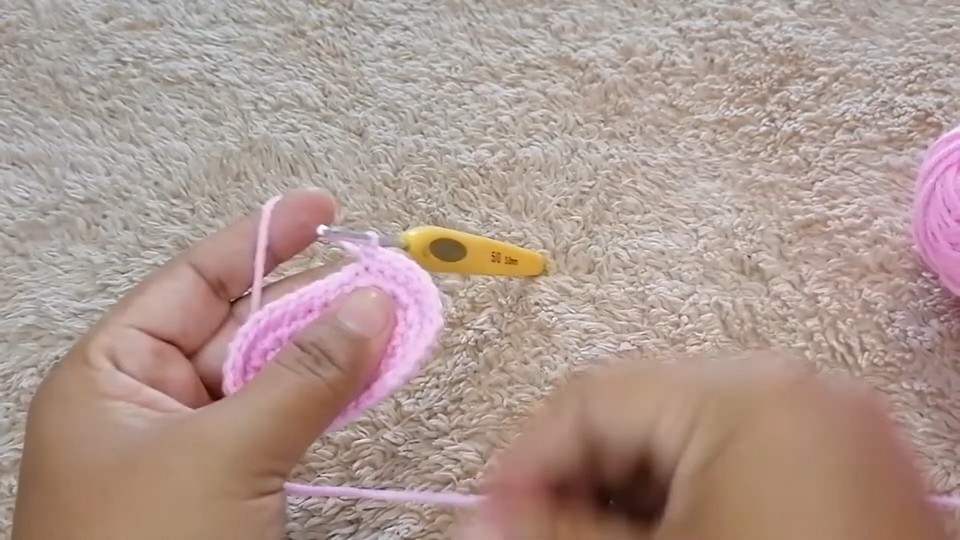
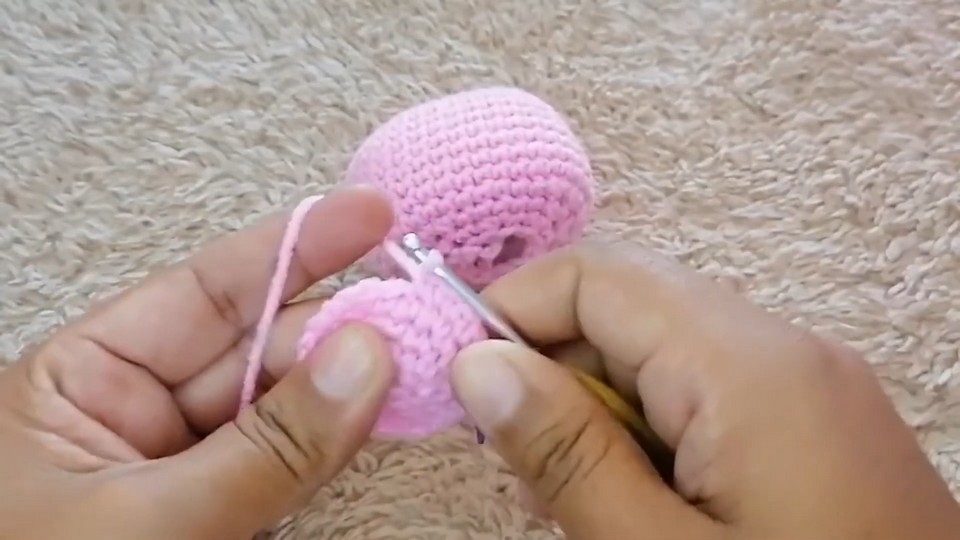
The process begins with foundational crochet techniques such as magic rings, single crochets, increases, and shaping rounds, which gradually form the dinosaur head, body, and limbs.

Each piece, including the tail and spikes, is created individually and beautifully brought together with seamless stitching and optional filling for structure. The video guides you step-by-step, ensuring an enjoyable process and a delightful final result.
Uses and Special Features
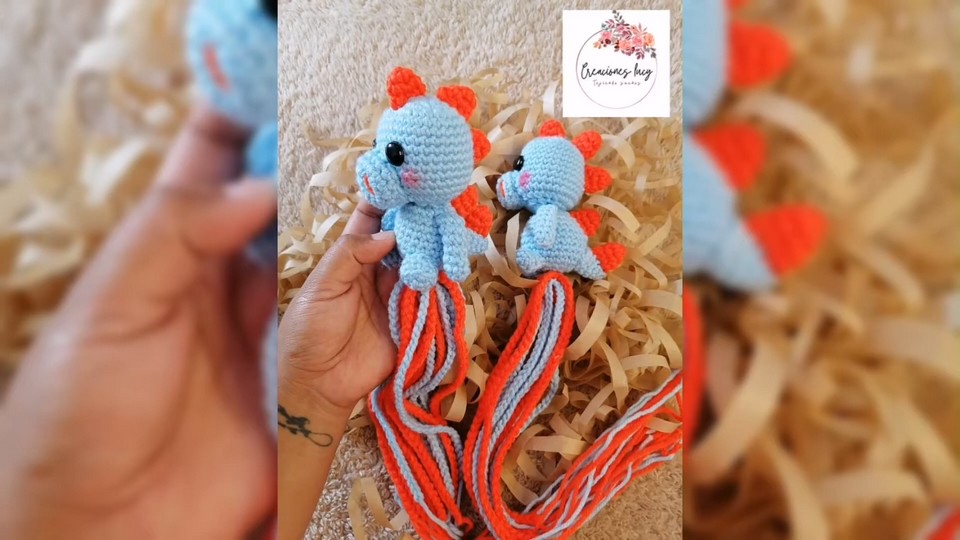
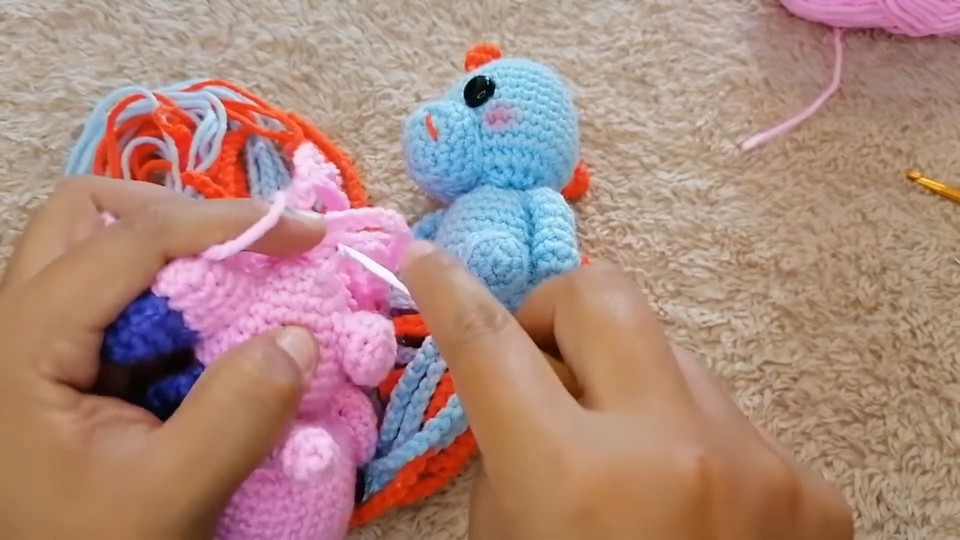
This doll designers designed as an ornamental Color/Pencil Holder (Sujeta Colores) to decorate a desk or table while storing pens, pencils, or makeup brushes. The entire dinosaur builders built from seven separate, small amigurumi components (head, body, snout, arms, legs, tail, and spikes) that crocheters sew together. The crocheters specially shape the legs using Back Loops Only (BLO) stitches to create a flat base, allowing the dinosaur to sit upright when assembled. The functional “holder” part consists of multiple long, delicate chains attached to the base, which act as decorative hangers for the items.
Difficulty Level and Tutor’s Suggestions
- Level of Difficulty: Intermediate. The pattern requires familiarity with amigurumi construction, working in oval rounds (for the head), multiple increases and decreases for shaping, color changes, and precise assembly of numerous small pieces.
- Tutor’s Suggestions:
- Color Choice: The colors are fully customizable; choose any combination you like.
- Eye Sizing: Measure your safety eyes against the size of your finished dinosaur head to ensure they are the right fit.
- Stuffing: Stuff the head and main body well to maintain their shape and firmness before sewing them closed.
- Pencil Strands: Use a larger hook (No. 4.5) than the one used for the body when creating the holding chains. This results in looser, more flexible chains.
Step by Step Guide
This tutorial guides you through creating a charming Dinosaur Color Holder (Sujeta Colores) using the amigurumi technique. This project results in an adorable, small dinosaur designed to sit upright while holding various writing tools or makeup brushes via decorative hanging strands. It’s an ideal, personalized gift for children, students, or anyone looking for a unique desk accessory.
Conclusion
This dinosaur color holder is a creative and functional piece of amigurumi that serves as a cheerful organizer for any workspace. From the sturdy feet to the decorative hanging strands, the thoughtful construction guarantees that this handmade item is both visually appealing and highly useful as a customized memento.
Tip
Begin with pinning the spots for the safety eyes. Following that, lay out the snout to establish a reference, then center the eyes precisely, and finally stitch the nostrils to finalize the expression.