Tiny wonders await with this Crochet Plankton Pattern, adding playful personality and charm to gifts, décor, and cozy accents.
Handmade Crochet Plankton Pattern for Kawaii Decor
A single strand of yarn can come to life as a quirky little character that instantly sparks a smile. This crochet Plankton brings the mischievous charm of the beloved cartoon figure into the real world, making it a playful addition to desks, shelves, or collections. Its small size and animated expression capture the essence of the character, turning it into a delightful conversation starter or a whimsical gift for fans of all ages. Compact yet full of personality, it adds a touch of humor and charm to any setting, whether displayed alongside other collectibles or carried as a unique keychain accessory.
Materials and Uses
-
- Yarn: You use acrylic yarn, preferably a thin weight (e.g., 1.6 mm thickness) for a smaller result.
- Colors: Dry green (main body), black, yellow, and red. You also use black thread (mechilla) for the mouth.
- Hook: You use a size 2 mm crochet hook for the body and a thinner 1.5 mm hook for the narrow antennae tubes.
- Tools: Scissors, stitch markers, yarn needle, safety pins/alfileres, and a pair of pliers (alicates) to help with stiff sewing.
- Structure: You need a 12 cm piece of pipe cleaner (limpiapipas) to insert into the antennae to make them flexible.
- Uses: You create a quick and simple Amigurumi toy, a small collectible figure, or a piece to complete a Spongebob character collection.

Light stuffing gives it a huggable form without compromising structure, while the approachable technique makes the project accessible to both beginners and seasoned crocheters. Each element contributes to a finished piece that is playful, charming, and full of character.Beyond its cheerful appearance, this crochet Plankton encourages focus and patience, rewarding the maker with a fun and tactile keepsake.

Level of Difficulty & Tutor’s Suggestions
This project is relatively straightforward. While the body shape is simple, it requires careful work on small, narrow tubes (antennae) and detailed assembly for the single eye and mouth.
Tutor’s Suggestions (Active Voice)
- To make the small antennae tubes easier to crochet, you use a thinner crochet hook (1.5 mm) than you use for the main body (2 mm).
- When you insert the pipe cleaner into the antennae, you fold the tips of the wire over to ensure they do not poke through the yarn and scratch or tear the finished piece.
- You use a pair of pliers to help you push the needle through the tight stitches when you embroider the small, thick eye details.
- You position the arms by counting 15 rounds down from the Magic Ring and separate them by 13 stitches to ensure symmetrical placement.
Special Features
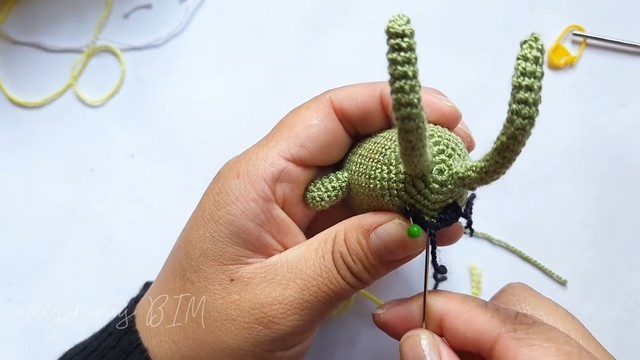
- Poseable Antennae: You insert a cut piece of pipe cleaner into the antennae tubes, which allows you to bend and pose Plankton’s antennae in various positions.
- Integrated Limb Design: You make the arms and legs the same size and stitch count, simplifying the pattern.
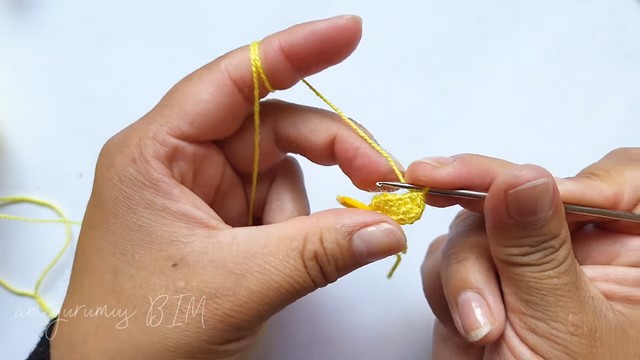
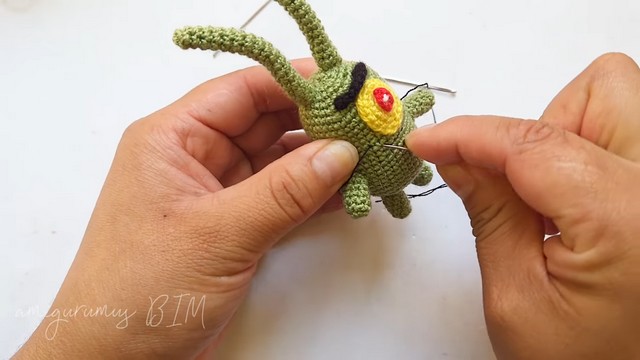
- Detailed Eye Embroidery: You create the single, large yellow eye, then use a chain stitch (punto cadena) in black to make the pupil and add a small white stitch for the reflection.
- Angry Expression: You create the unique angry look by making and stitching a small, separate black eyebrow piece and using a specific curved embroidery technique for the mouth.
Step by Step Guide
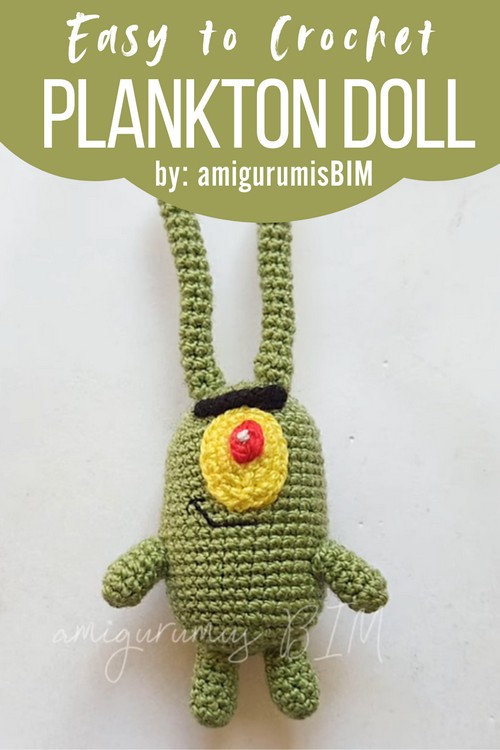
In this tutorial, you learn to crochet the mischievous Plankton character from the Spongebob SquarePants series. You create a simple Amigurumi figure that stands about 11 cm tall (depending on your yarn choice). This small project is easy to complete in a single sitting and features antennae that you can move and pose.
Conclusion
You successfully complete the construction of this simple Plankton Amigurumi. You apply essential techniques like working in narrow tubes, making an oval for the eye, and using pipe cleaners for poseable parts. By finishing the assembly and detailed embroidery, you achieve the final, recognizable character, a great addition to your collection.
Final Tip
To keep the arm and leg pieces straight and neatly attached, you ensure the openings are sewn shut flat before you attach them to the body. This prevents the small pieces from rolling, making the figure more stable.


