Bring to life a delightful Free crochet Amigurumi Turtle Pattern that’s perfect for gifting, decorating, or adding charm to your crochet collection!
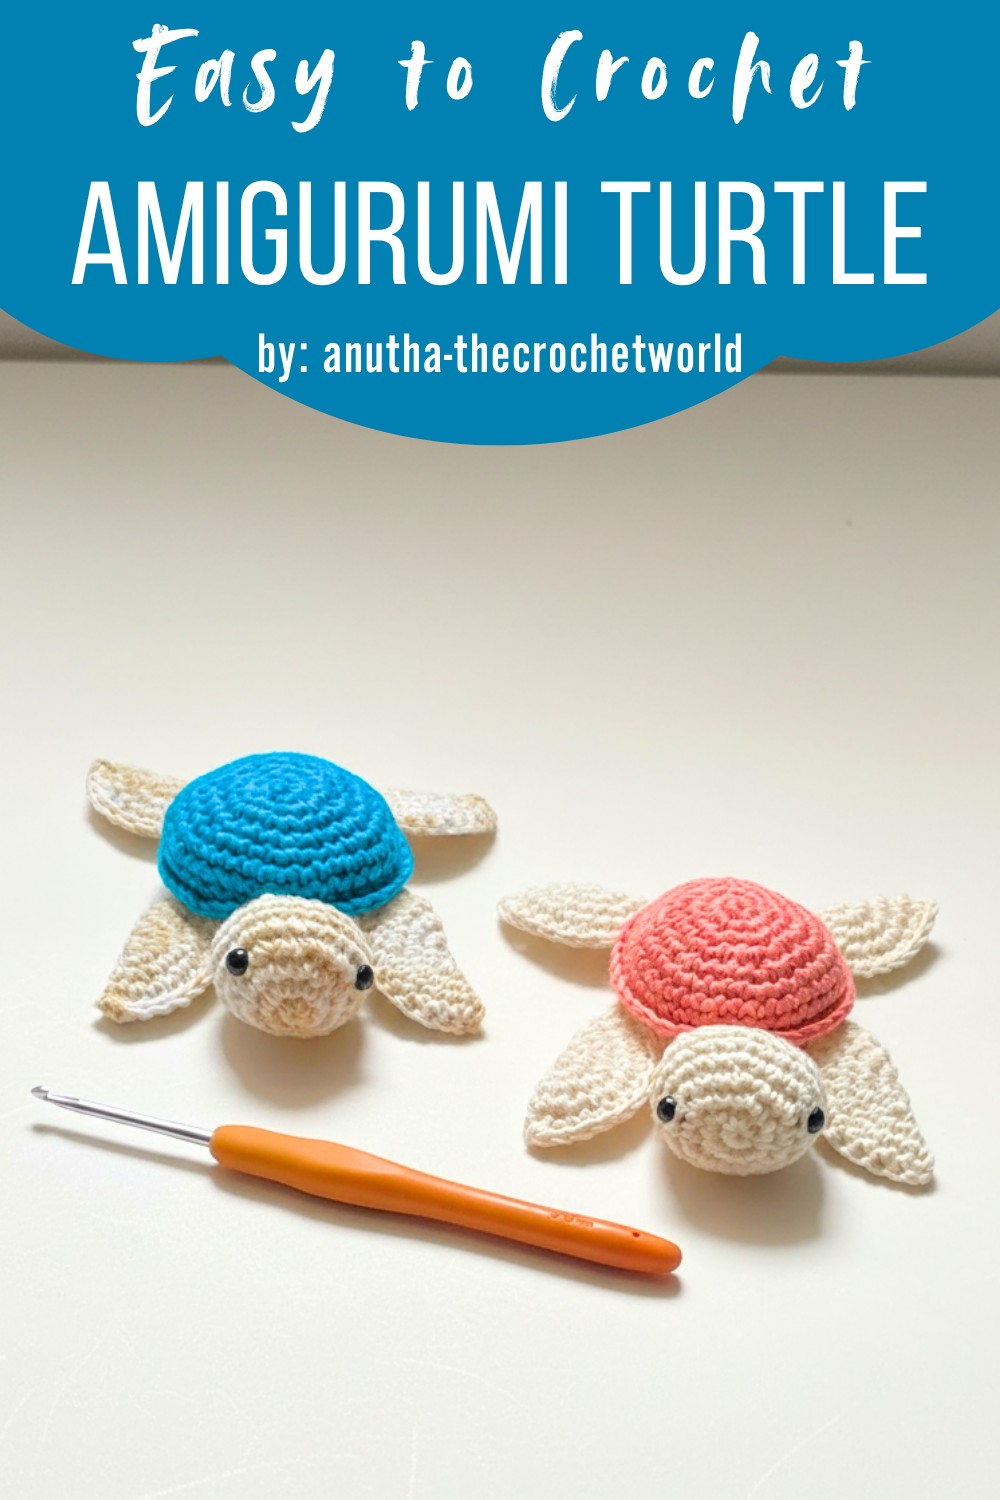
Free Crochet Amigurumi Turtle Pattern for Fun Projects
Turtles are often seen as symbols of patience and longevity, and creating one through crochet brings that same charm and warmth into your hands. A crochet amigurumi turtle pattern allows you to craft a little piece of nature’s beauty with your own creativity. These tiny creations are more than just cute decorative items—they make excellent gifts, playful toys for children, or even unique keychains.
Their soft, cuddly appearance and intricate details make them loved by both beginners and experienced crafters alike. Working on this project is not only relaxing but also rewarding as you see the adorable turtle take shape stitch by stitch.
The pattern’s versatility is a big win—you can mix colors for the shell, experiment with different yarn textures, or adjust the size to suit your preference. Plus, it improves your crochet skills like working in the round and assembling parts. Crafting your own turtle is both fun and fulfilling!
Materials Needed
- Yarn:
- 100% cotton yarn in at least two colors (one solid for the body, another color for the shell).
- Hook Size:
- A 3 mm crochet hook.
- Other Tools:
- Stitch marker to track the beginning of the rounds.
- A needle for sewing and finishing.
- Soft filling/stuffing for the head and body.
- Plastic safety eyes for the head.
Crochet Amigurumi Turtle
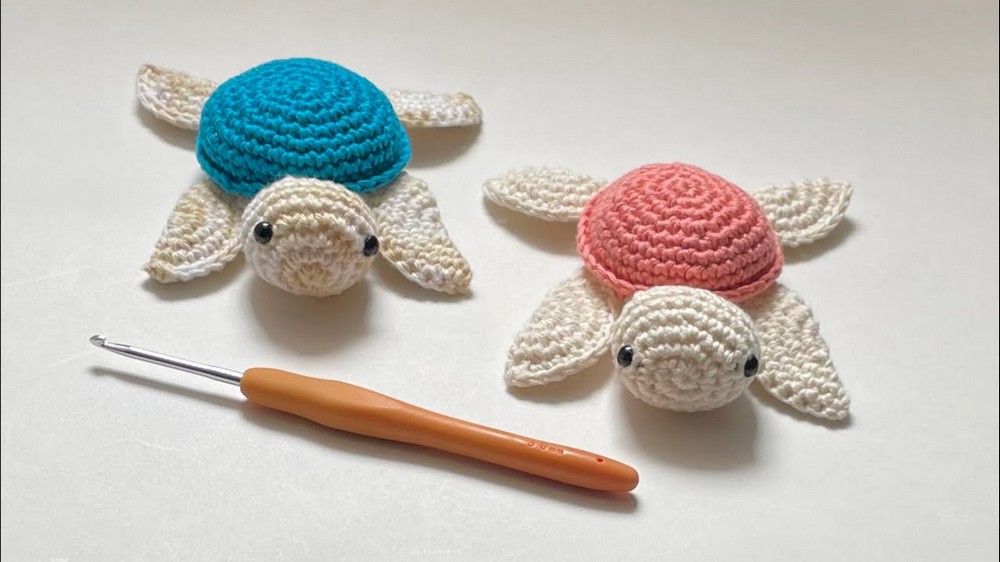
You’ll learn how to crochet the turtle’s head, legs, and shell, with detailed instructions that make each part simple to follow. The finished turtle is a delightful handmade gift, a perfect decoration, or even a cute companion. Customize it with your favorite colors and add unique features to make it truly your own!
Uses
- The crocheted turtle works as home decor, a gift for kids, a keychain (if downsized), or as part of an amigurumi collection.
Special Features
- The turtle includes realistic detailing, like sculpted legs, a head with safety eyes, and a textured upper shell that gives the turtle a life-like appearance.
- The amusing, small tail is a charming addition.
- Its size makes it a portable craft project.
The Head
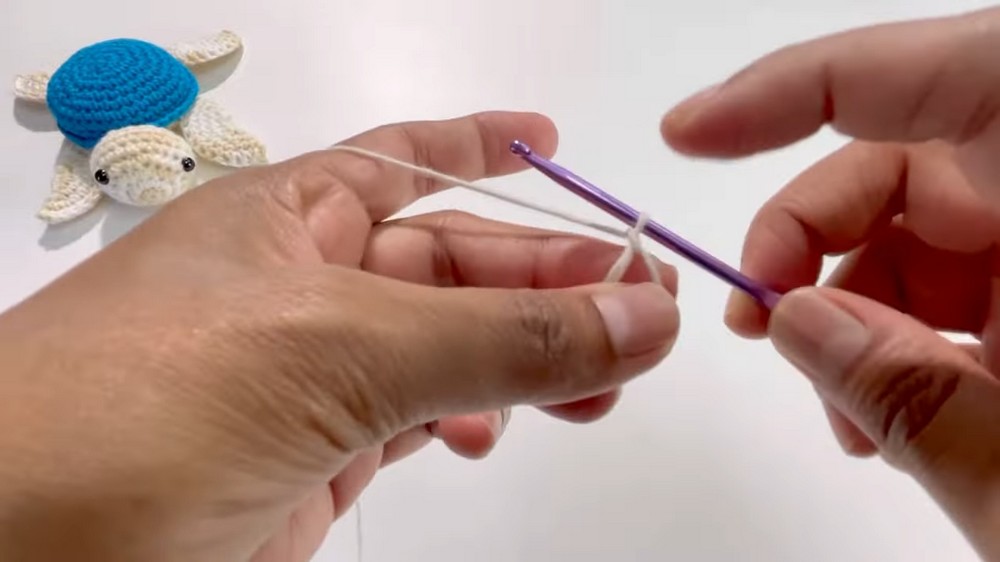
The head is worked in a spiral using a magic circle.
-
Round 1: Start with a magic circle and place 6 single crochets (SC) into the circle.
-
Round 2: Place 2 SC into each stitch for a total of 12 SC.
-
Round 3: Alternate between 1 SC and 2 SC, repeating for a total of 18 SC.
-
Round 4: Place 1 SC in the first two stitches, then 2 SC in the third, repeating for a total of 24 SC.
-
Rounds 5-7: Place 1 SC in each stitch for a total of 24 SC per round.
-
Attach eyes: Place the eyes between rounds 4 and 5.
-
Round 8: Place 1 SC in the first two stitches, then make 1 invisible decrease over the next two stitches, repeating for a total of 18 SC.
-
Round 9: Place 1 SC in the first stitch, then 1 invisible decrease, repeating for a total of 12 SC.
-
Filling: Fill the head with soft stuffing.
-
Round 10: Place 1 SC in the first stitch, then 1 invisible decrease, repeating for a total of 8 SC.
-
Final step: Secure the last stitch and cut the yarn.
The Legs
The legs are also started with a magic circle, making four identical legs.
-
Round 1: Start with a magic circle and place 8 SC into the circle.
-
Round 2: Place 2 SC into each stitch for a total of 16 SC.
-
Round 3: Alternate between 1 SC and 2 SC, repeating for a total of 24 SC.
-
Round 4: Place 1 SC in each stitch for a total of 24 SC.
-
Finishing: Fold the work in half and single crochet the two sides together, creating 12 SC.
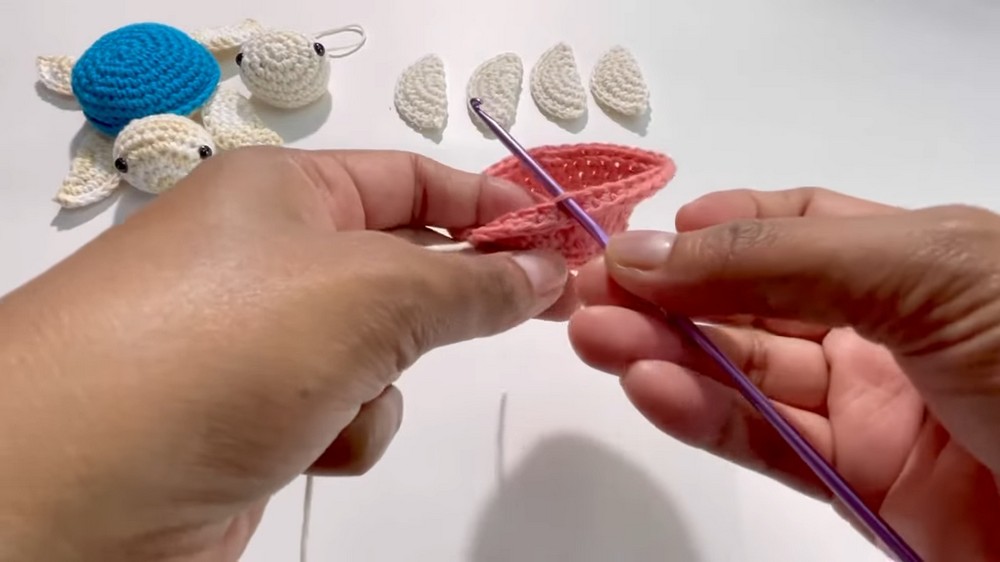
The Shell
-
Round 1: Start with a magic circle and place 6 SC into the circle.
-
Round 2: Place 2 SC into each stitch for a total of 12 SC.
-
Round 3: Alternate between 1 SC and 2 SC, repeating for a total of 18 SC.
-
Round 4: Place 1 SC in the first stitch, 2 SC in the second, and 1 SC in the third, repeating for a total of 24 SC.
-
Round 5: Place 1 SC in the first three stitches, then 2 SC in the fourth, repeating for a total of 30 SC.
-
Round 6: Place 1 SC in the first two stitches, 2 SC in the third, and 1 SC in the next two stitches, repeating for a total of 36 SC.
-
Rounds 7-9: Place 1 SC in each stitch for a total of 36 SC per round.
-
Round 10: Chain 1 and turn the work. Single crochet in the back loop only of each stitch for a total of 36 SC.
-
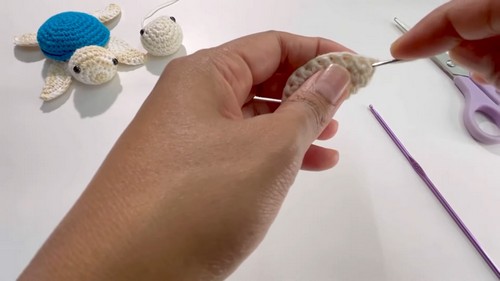
Finishing: Cut the yarn and use a needle to secure the final stitch.
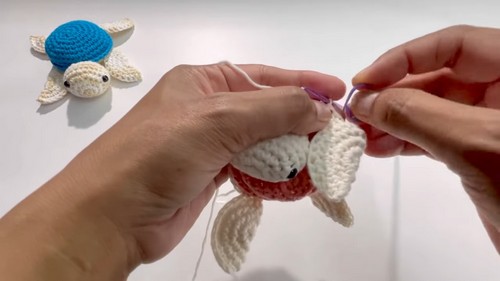
Assembly
-
Attach head: Insert the hook into the front loop of a stitch on the shell from round 9 and attach the head by working SC stitches through both the head and the shell.
-
Attach legs: Attach the legs to the shell with SC stitches. There are 3 SC per leg.
-
Create the tail: Chain 3 and slip stitch into the second and third chain from the hook.
-
Stuffing: Fill the turtle with soft stuffing.
-
Decreasing: The remaining stitches are decreased in rounds until the hole is close
Tutor’s Suggestions
- Use a stitch marker to keep track of your rounds and ensure even stitching.
- Be mindful of maintaining proper tension throughout the crochet to avoid loose or uneven stitches.
- When adding the eyes or stuffing, do not overfill or stretch the piece. This will ensure durability and maintain the turtle’s proportions.
Level of Difficulty
This project is beginner to intermediate. While basic single crochet and familiar techniques (like magic circle and increasing) are used, some amigurumi concepts, such as attaching parts and invisible decreases, may pose a slight challenge to new learners.
Conclusion
The crocheted turtle is a delightful project that teaches amigurumi techniques step-by-step. Making each part individually and assembling them ensures an organized workflow, and the final product is a cute, compact turtle suitable for decoration, gifting, or toy collections.
Tip
When working with a magic circle, don’t make the loop too tight right at the start—leave a small allowance to easily maneuver your hook and ensure smoother stitching.


