Rev up the cuteness with this fun Crochet Car Plushie Pattern, bringing playful charm, color, and cozy joy to every little adventure.
Soft Crochet Car Plushie Pattern with Playful Personality
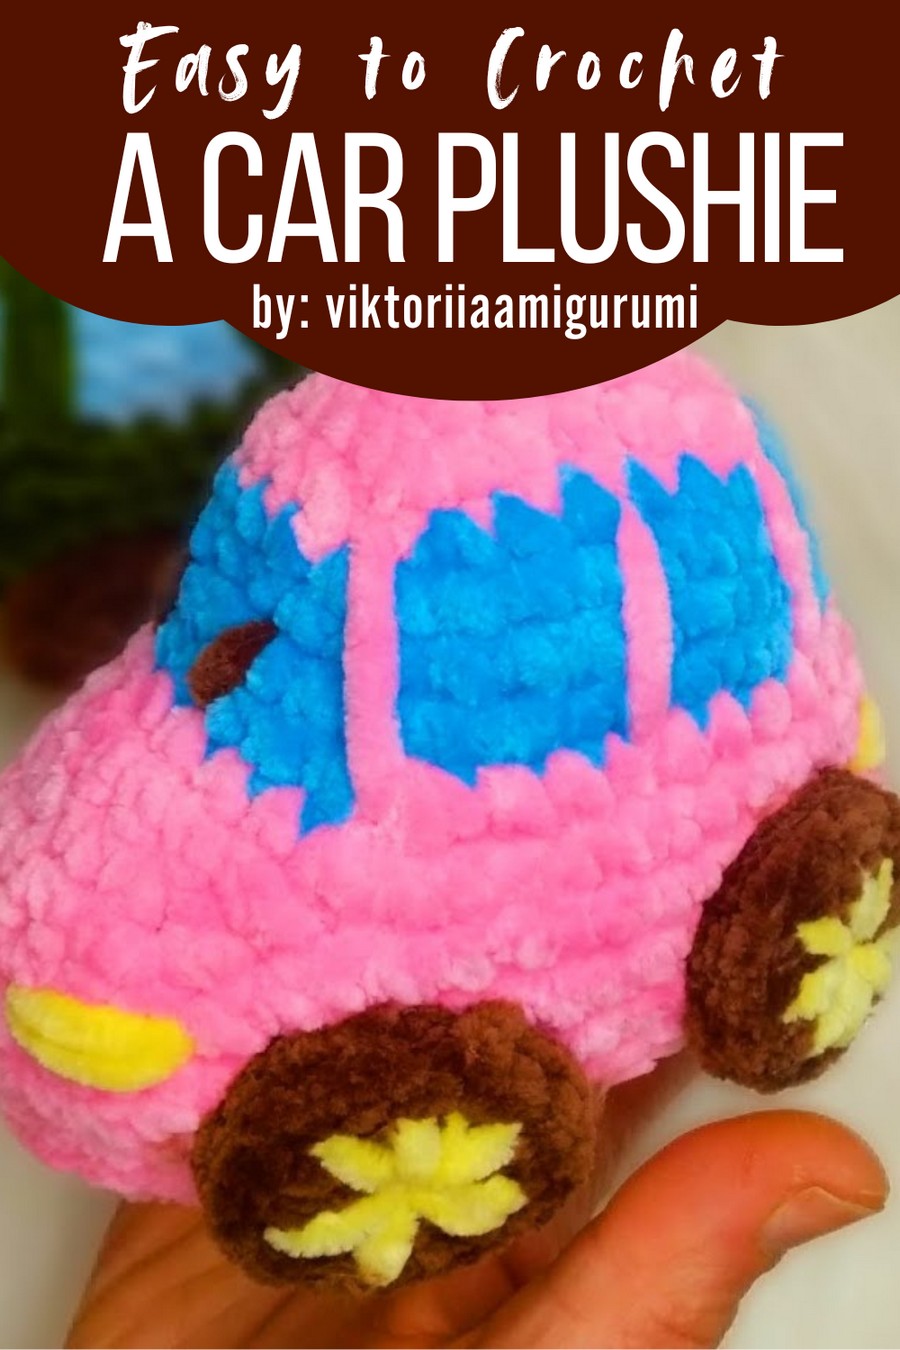
Under the soft glow of a nursery night-light, a little toy car sits patiently, ready to go on a journey of imagination and comfort. This crochet car plushie pattern captures that spirit, its compact, cheerful form offering a playful and snug companion for children, playrooms, or whimsical décor spaces. Ideal for gifting, snuggling, or simply adding a handmade touch to a shelf, it brings both joy and personal charm to its new home.
Materials and Uses
- Yarn Colors:
- Main Color (e.g., Pink/Fuschia): For the car body.
- Window Color (e.g., Blue/Gray): For the windows/windshield area.
- Tire Color (e.g., Brown/Black): For the wheels.
- Accent Color (e.g., Yellow/Orange/Red): For the headlights.
- Hook Size: 3.25 mm (or a hook suitable for your chosen yarn). The tutor uses velvet yarn for a soft, plush finish, but cotton yarn (Koton ip) can also be used for a firmer result.
- Tools: Tapestry needle, scissors, and fiberfill (elyafla) for stuffing.
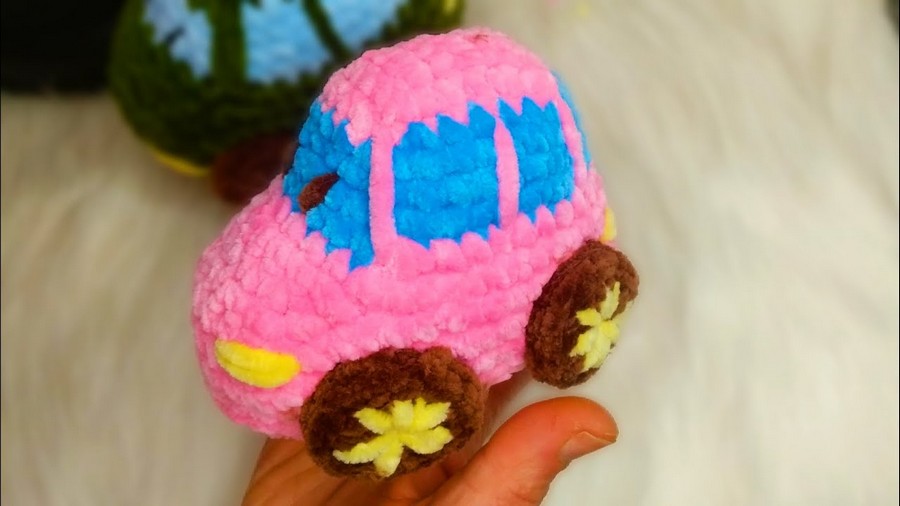
Using smooth, medium-weight yarn in a bright body color and contrasting wheels, the shape is built with stitches such as single crochet and continuous rounds, with gentle increases and decreases to shape the hood, roof, and wheel arches.

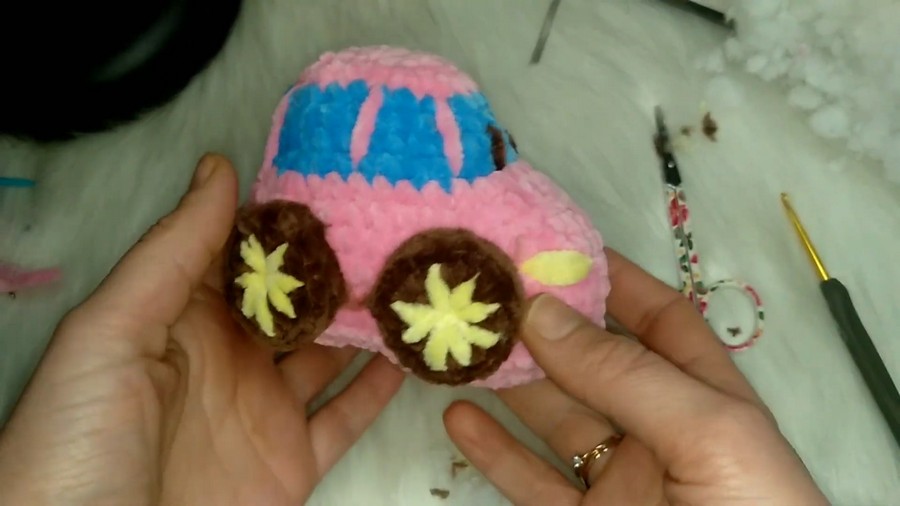
The wheels are worked separately then attached, giving the car a solid feel while staying soft enough for little hands. The finished design has crisp lines, friendly proportions, and a subtle caricature style that makes it lovable rather than literal. Whether you’re aiming for a nursery accent, a travel-toy, or a keepsake for a car-loving kid, this plushie checks many boxes of usefulness and fun.
Follow the full tutorial to make your own version of this charming plush car and bring a little bit of handcrafted motion and delight into your space.
Uses:
The finished size makes it perfect for a child’s toy car or a unique keychain accessory.
Special Features & Tutor’s Suggestions
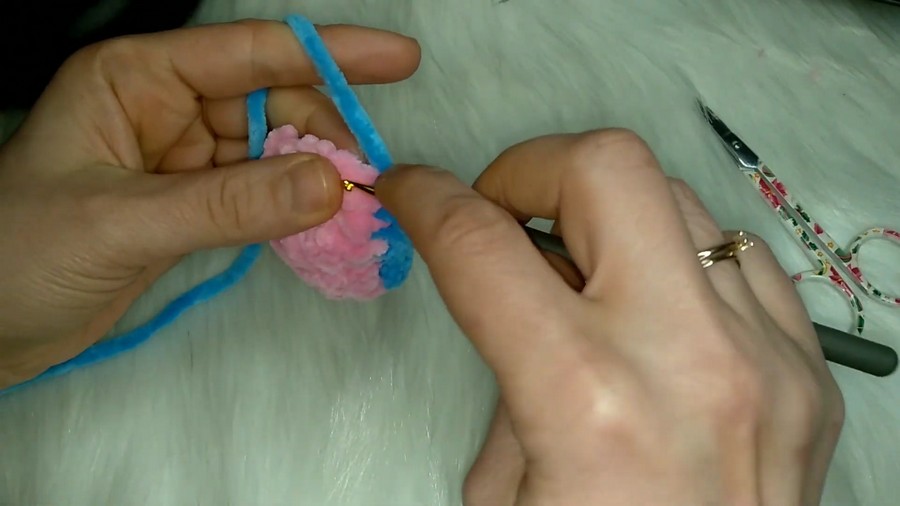
- Quick Box Construction: The car is not made entirely in the round. The main body (top and front) and the bottom piece are constructed as flat rectangles/boxes worked in rows, which simplifies the shaping and speeds up the process (hence the title “30 minutes to make a car”).
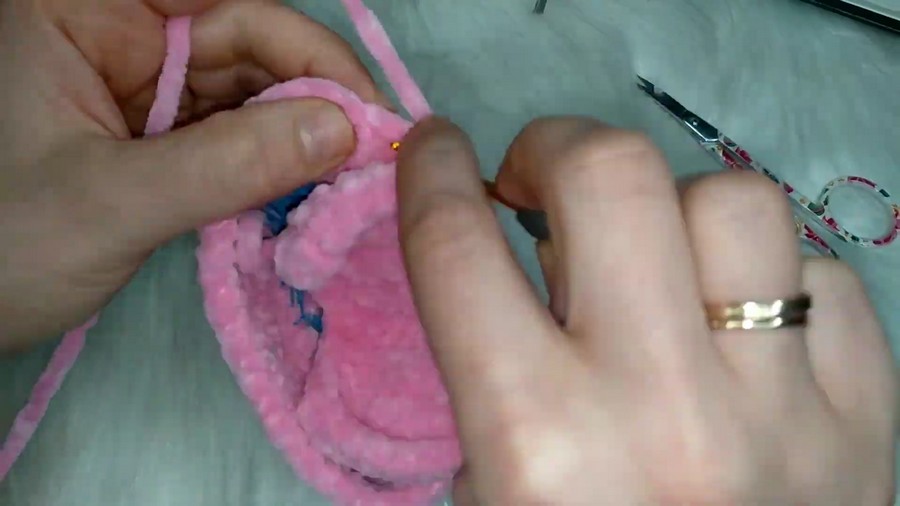
- Embroidered Details: The windows and headlights are not separate crocheted pieces but are embroidered directly onto the finished car body using a contrasting yarn color, adding detail quickly and efficiently.
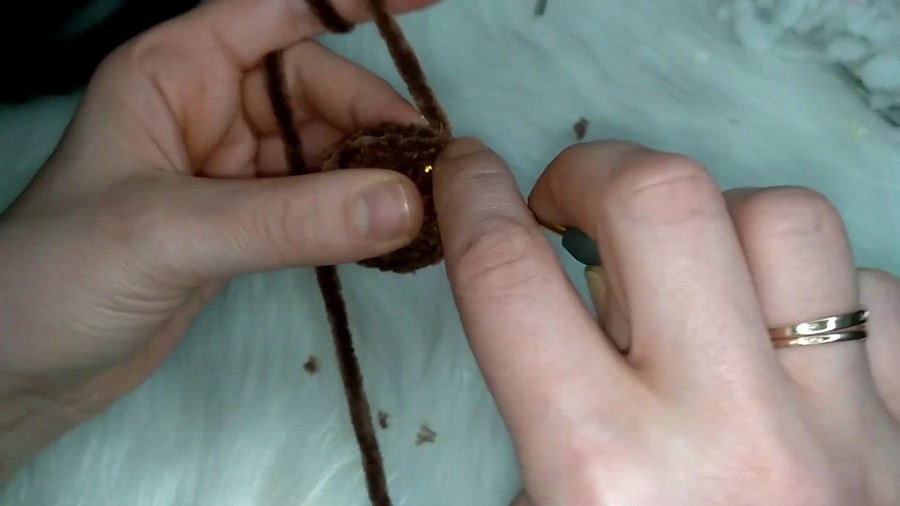
- Dimensional Wheels: The wheels are crocheted in two flat circular pieces, which are then joined together with slip stitches, creating a thick, dimensional tire.
Tutor’s Suggestions
- Yarn Choice: The tutor notes that while they are using velvet yarn for a soft toy, the pattern works with cotton yarn as well, allowing the crafter to choose the texture they prefer.
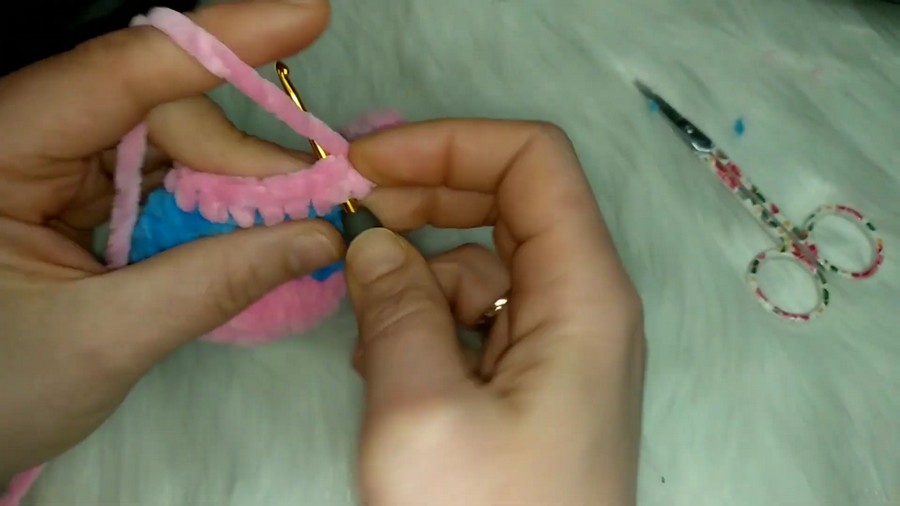
- Assembly Preference: The tutor demonstrates how to join the main car piece to the bottom piece using slip stitches (CC ile birleştireceğim) but mentions that you can also sew the pieces together with a needle and thread (iğneyle tek tek dikersiniz), giving the crafter a choice in how to assemble.
- Window Detail: When embroidering the windows, the yarn should be pulled through the car body to create the straight-line divisions, making the “window” structure visible.
Level of Difficulty
The project is rated as Beginner to Intermediate.
- Beginner: The pattern relies heavily on simple rows of single crochet (sc) and basic increases/decreases.
- Intermediate: The difficulty is in the assembly, which requires accurately connecting the three-dimensional pieces and precisely embroidering the facial features and windows.
Step by Step Guide
This tutorial provides a guide on how to quickly crochet a Miniature Amigurumi Car, which is small enough to be used as a toy or a keychain. The design is primarily built from three flat/box-shaped pieces and then assembled.
Conclusion
This tutorial offers a fast and straightforward pattern for crocheting an Amigurumi car. By utilizing a simplified box-like structure and relying on surface embroidery for details, the project is approachable for those looking for a quick and satisfying craft.
Final Tip
To ensure the car sits flat and the wheels align, place the finished car body on a flat surface after stuffing but before closing the final seam. Adjust the stuffing until the bottom is perfectly level, then mark the four points where you should attach the wheels before sewing them on. This will prevent the car from rocking when placed on a table.


