Try this free crochet Rose Keychain pattern to design a stunning, personal accessory perfect for gifting, decorating, or everyday use.
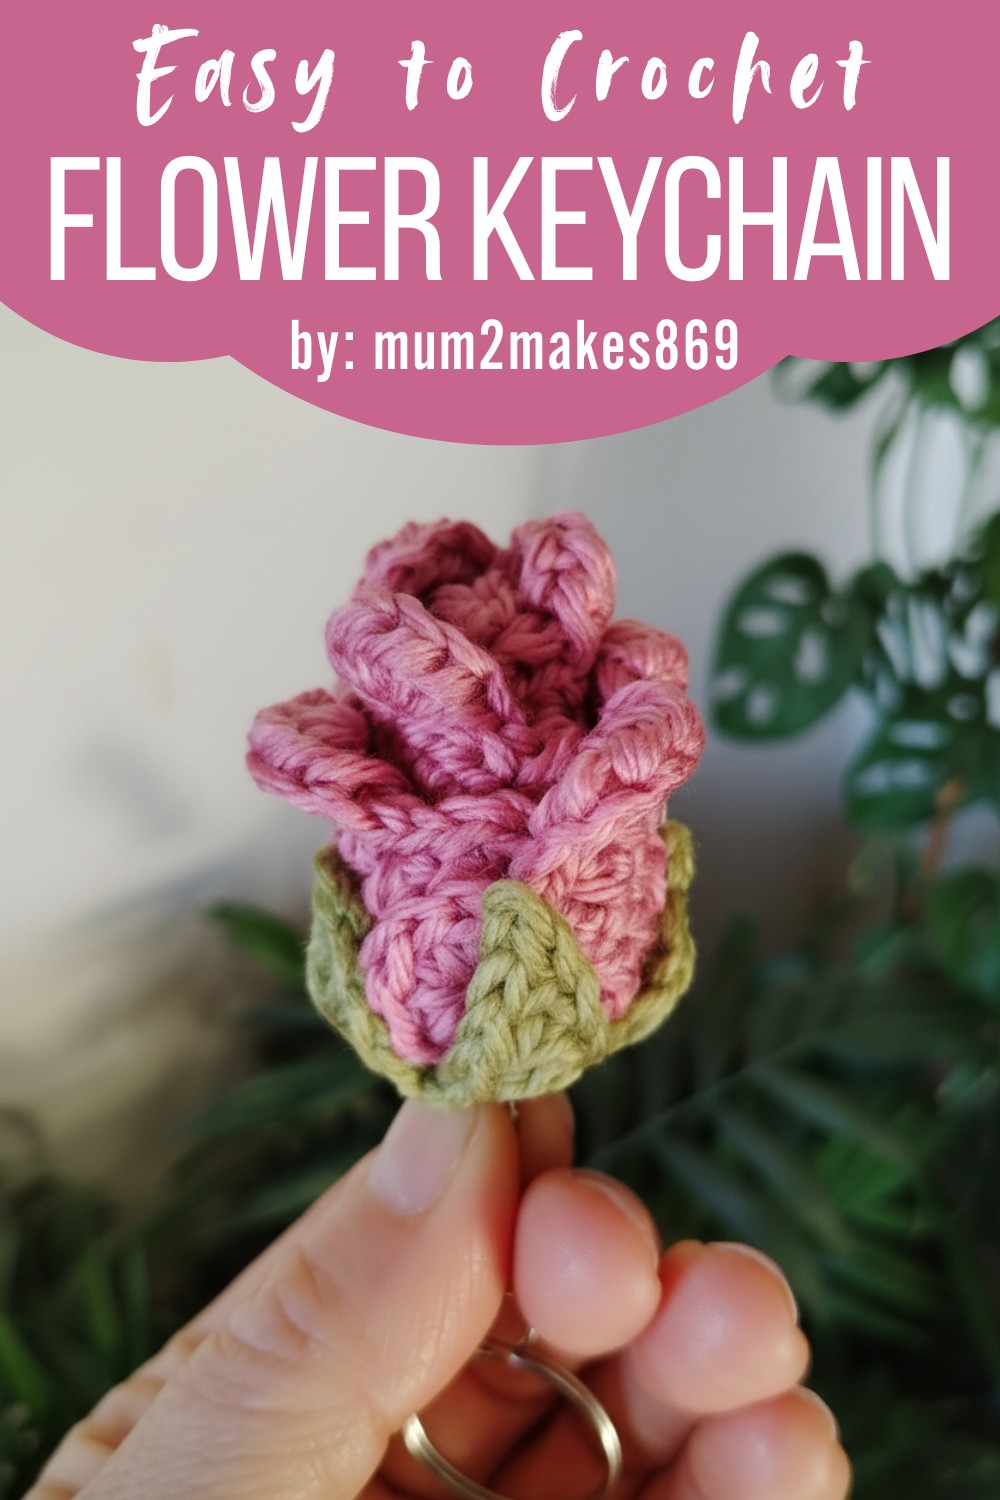
Free Crochet Rose Keychain Pattern You’ll Fall in Love With
Have you ever wanted to carry a little piece of beauty wherever you go? This charming creation is perfect for brightening up your everyday essentials, adding a splash of elegance to your keys, bags, or backpacks.
Its intricate rose design paired with delicate leaves creates a timeless and eye-catching accessory that stands out effortlessly. Whether you’re looking to personalize your items or gift something thoughtful to a loved one, this project is full of personality and heart.
Beyond its visual appeal, this accessory is an eco-friendly choice. Made from soft yarn, it’s reusable, washable, and long-lasting, combining beauty with sustainability. Whether creating for yourself, gifting it to someone special, or even selling it as part of a handmade craft collection, this project blends creativity, functionality, and love into one beautiful piece.
How to Crochet a Beautiful Rose Keychain
Materials Needed
Here’s what you’ll need:
- Keyring attachment
- A pair of pliers (to attach the keyring securely)
- 3.5mm crochet hook (for the green leaves)
- 3mm crochet hook (for the rose)
- Tapestry needle
- Scissors or yarn cutter
- Two yarn colors: Pink (for the rose petals) and Green (for the leaves)
- Hot glue (optional for secure attachment of the leaves to the rose)
- A lighter (optional, for polishing fibers)
Uses of the Rose Keychain
- A decorative accessory for keys, bags, or backpacks.
- A thoughtful handmade gift for friends or loved ones.
- A simple yet elegant decor item for flower lovers.
Special Features
- Easy to Make: Designed to be beginner-friendly with US crochet terminology.
- Quick Project: Can be completed in a short amount of time.
- Customization: Choose any colors for the rose and leaves to personalize the look.
- Polished Finish: Tips for wrapping tails, tying knots securely, and using hot glue for durability are included.
Step-by-Step Instructions
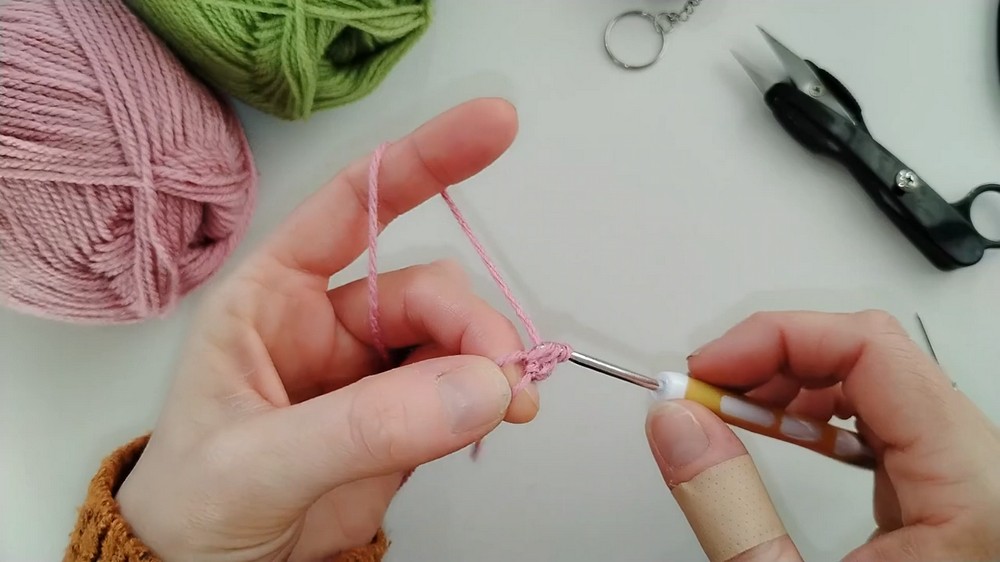
Part 1: Crocheting the Rose Petals
- Begin with the pink yarn and 3mm crochet hook.
- Start with a Magic Ring:
- Chain two.
- Place 12 double crochets into the magic ring.
- Slip stitch into the top of the first double crochet to complete Round 1.
- Round 2 (Increase):
- Chain two.
- Place two double crochets into each stitch around.
- At the end of this round, you’ll have 24 double crochets.
- Round 3 (Further Increase):
- Chain two.
- Alternate between placing two double crochets into one stitch and one double crochet into the next stitch.
- Finish with 36 double crochets.
- Round 4:
- Switch to half-double crochets: Chain one, then alternate between two half-double crochets in one stitch and one half-double crochet in the next two stitches.
- Finish with 48 half-double crochets.
- Final Round (Wave/Shell Stitch):
- Crochet “waves” (shells) into every fourth stitch:
- Place five half-double crochets into one stitch, skip a stitch, and slip stitch into the next.
- Repeat this pattern all the way around to add texture.
- Crochet “waves” (shells) into every fourth stitch:
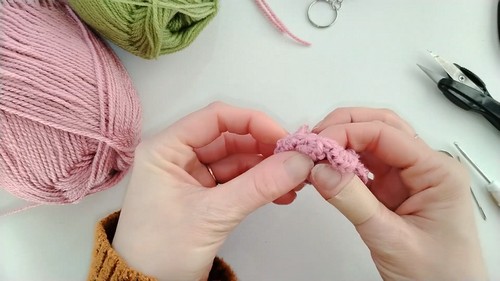
Assembling the Rose
- Roll the crocheted piece inward to form the rose shape.
- Use the yarn tail to wrap around the base and secure the rose by tying tight knots at the bottom. Your rose is now ready!
Part 2: Crocheting the Leaves
- Switch to the green yarn and 3.5mm crochet hook.
- Make a Magic Ring:
- Chain one, then place 10 half-double crochets into the ring.
- Slip stitch into the first half-double crochet to close the circle.
- Create the Star Points for the Leaves:
- Use two stitches per star tip:
- Chain five for the tip.
- Slip stitch into the second chain, single crochet into the third chain, half-double crochet into the fourth chain, and double crochet into the fifth chain.
- Slip stitch back into the next two stitches of the base circle.
- Repeat for all five points.
- Use two stitches per star tip:
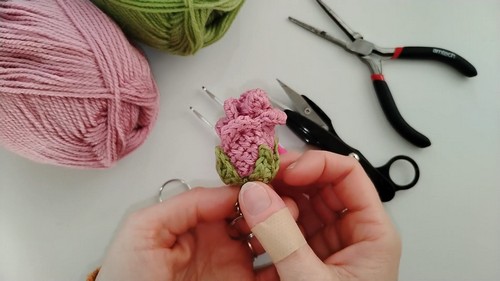
Attaching the Keyring
- Thread the short tail through the center of the leaves.
- Attach the keyring using the tapestry needle or pliers by sewing securely through the star’s center.
- Tie the tails securely, hiding them for a neat finish.
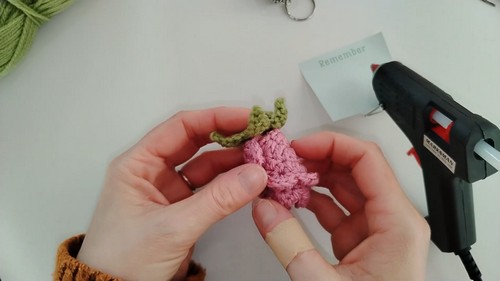
Part 3: Assembling the Keychain
- Attach the leaves securely to the base of the rose using hot glue or by sewing.
- Align the leaves so they fan out naturally from under the rose.
- If desired, use a lighter carefully to burn off stray fibers, ensuring a polished and professional finish.
Level of Difficulty
This project is beginner to intermediate. It introduces basic crochet techniques such as the magic ring, double crochets, half-double crochets, and slip stitches. With clear instructions provided, anyone with some crochet experience can successfully create the keychain.
Tutor’s Suggestions
- Use US crochet terms; get familiar if you are more familiar with UK terminology.
- Always leave tails long enough to secure and tie stitches properly.
- Hot glue can provide extra durability if you don’t want to sew the parts together.
- Be patient when rolling the rose and arranging the leaves to keep it symmetrical.
Conclusion
The rose keychain is a beautiful, versatile project that’s both easy and rewarding. With just a few basic tools, you can create a personalized, durable accessory. Add your own creative touches by playing with yarn colors and textures. Whether for yourself or as a gift, this project is sure to impress!
Extra Tip
When using a lighter to burn stray fibers, move quickly and gently over the surface to avoid damaging the yarn or setting it alight. Stay safe and ensure you’re burning fibers in a ventilated area.


