Snuggle up with this lovable Crochet Winnie the Pooh Pattern, perfect for adding charm, personality, and cozy delight to any space.
Heartwarming Crochet Winnie the Pooh Pattern for Every Hobbyist

In the heart of the Hundred Acre Wood, a gentle bear with a honeyed heart and a red shirt wanders through sunlit meadows. This crochet Winnie the Pooh pattern captures his timeless charm, inviting you to recreate the beloved character in yarn form. Whether you’re a longtime fan or discovering Pooh’s world anew, this pattern offers a delightful journey into the art of amigurumi.
Whether you’re looking to add a touch of whimsy to your space, create a thoughtful gift, or simply enjoy the process of bringing a beloved character to life, this crochet Winnie the Pooh pattern offers a fulfilling and rewarding experience.
Materials and Uses
- Hook Size: No. 2.5 crochet hook.
- Yarn Colors: Yellow (Main body, head, snout, limbs, ears), Red (Shirt and sleeve cuffs), Black (Facial details—nose and eyebrows), Brown (Optional, for shading), and White (Optional, for highlights).
- Eyes: 8 mm safety eyes.
- Tools: Stitch marker, scissors, tapestry needle, and soft fiberfill for stuffing.
- Uses: The finished figure is an ideal size for a cherished Amigurumi toy, a unique decorative piece in a nursery or child’s room, or a gift for a Winnie the Pooh fan.

Designed with both beginners and seasoned crocheters in mind, the pattern employs basic crochet techniques such as single crochet and simple decreases.


The use of soft, pastel-toned yarns—yellow for Pooh’s fur and red for his shirt—adds a cozy, inviting feel to the finished piece. The design emphasizes proportion and expression, ensuring that the final creation embodies Pooh’s endearing personality.
Clear instructions and step-by-step visuals guide you through each stage, from shaping the head and limbs to assembling the body, making the process both enjoyable and achievable.
Special Features & Tutor’s Suggestions
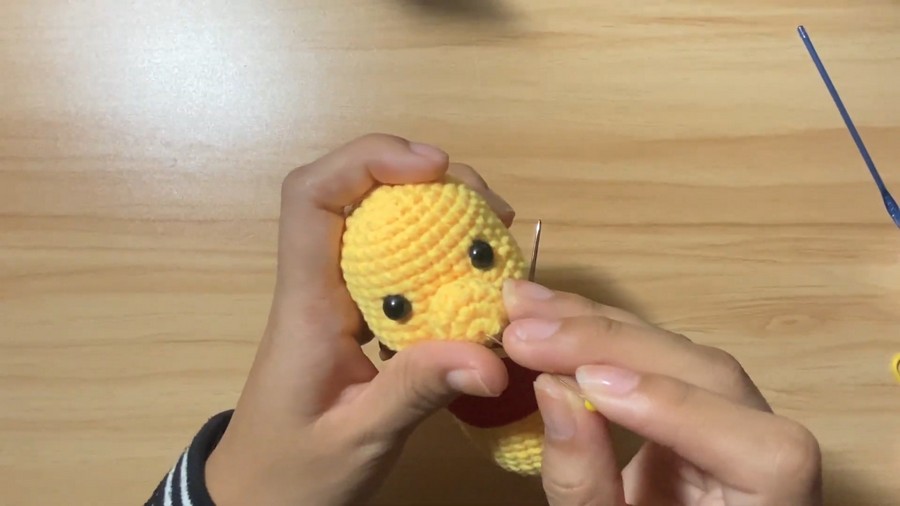
- Staggered Head Shaping: The head pattern uses specific increase and decrease placement (e.g., 10 sc, 2 inc, 5 sc, 2 inc, 11 sc) that deviates from a simple symmetrical sphere. This technique creates a slight widening or bulge in the cheek/snout area, giving the bear a more natural, character-specific head shape.
- Raised Shirt Hem: A special technique creates a crisp, defined line where the yellow body meets the red shirt. The final row of the yellow body crochets a round of slip stitches into the back loop, and then you work the red shirt into the unused loops from the row below. This creates a neat, raised ridge that serves as the shirt’s bottom edge or belt line.
Tutor’s Suggestions
- Slip Stitch Tension: When working the slip stitch round to create the shirt hem, the instructor advises making the stitches a little loose (not too tight). This ensures the loop remains wide enough to comfortably work the next round of red single crochet stitches.
- Partial Stuffing: The creators specifically left the ears unstuffed. The makers only partially stuffed the arms, legs, and snout to maintain a soft shape without being overly rigid. The creators must, however, stuff the head and body firmly.
- Assembly Positioning: The legs are attached to the body in a forward position to create a “sitting pose” when the doll is set down, adding to its cute, endearing look.
Level of Difficulty
The project is rated as Intermediate. While the main stitches are basic single crochet, the difficulty comes from:
- Complex Shaping in the head and the use of special rounds.
- Joining and Assembly of numerous small pieces (2 arms, 2 legs, 2 ears, 1 snout) to the main body.
- The specialized technique for the color change on the shirt hem, which requires careful placement and tension.
Conclusion
This comprehensive tutorial successfully guides the user through creating a charming and recognizable Winnie the Pooh doll. By utilizing careful shaping for the head, precise color changes for the iconic red shirt, and detailed assembly, the final result is a high-quality, handcrafted Amigurumi toy.
Final Tip
When sewing the individual pieces (arms, legs, ears, snout) to the main body and head, use sewing pins to secure them in place first. This allows you to check the symmetry and positioning from all angles before you start the final stitching, ensuring your bear’s features are perfectly aligned.