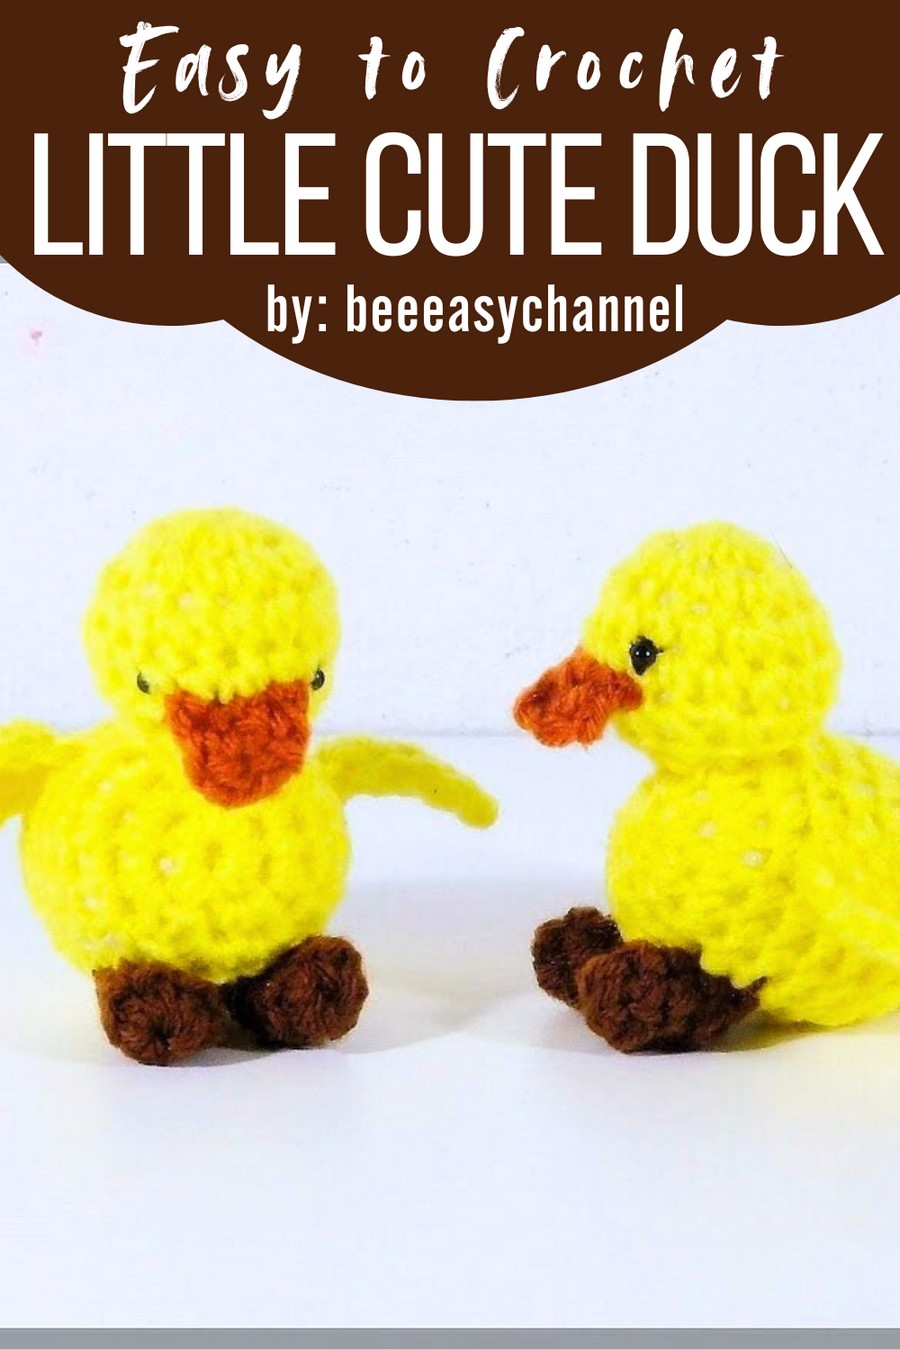
Bring playful charm to any space with this Crochet Duck Pattern, creating soft, adorable ducks perfect for nursery décor or gifts.
Adorable Crochet Duck Tutorial for Handmade Charm
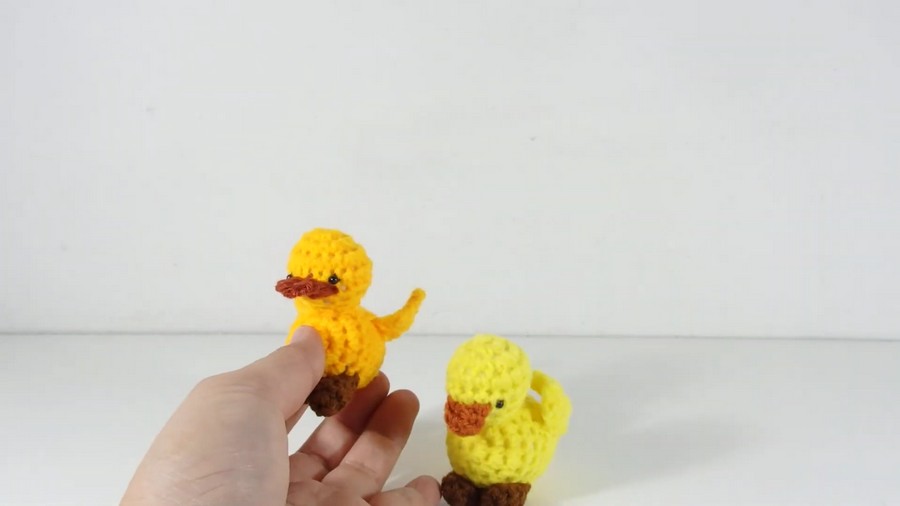
Long before modern toys filled nursery shelves, the gentle quacks and waddling gait of ducks along quiet ponds fascinated children. The crochet duck is more than just a decorative piece, it’s a versatile companion that adds character to nurseries, living rooms, or office desks. Its soft, tactile feel invites interaction, making it a delightful gift for little ones or a thoughtful keepsake for adults who appreciate delicate craftsmanship.
Materials and Uses
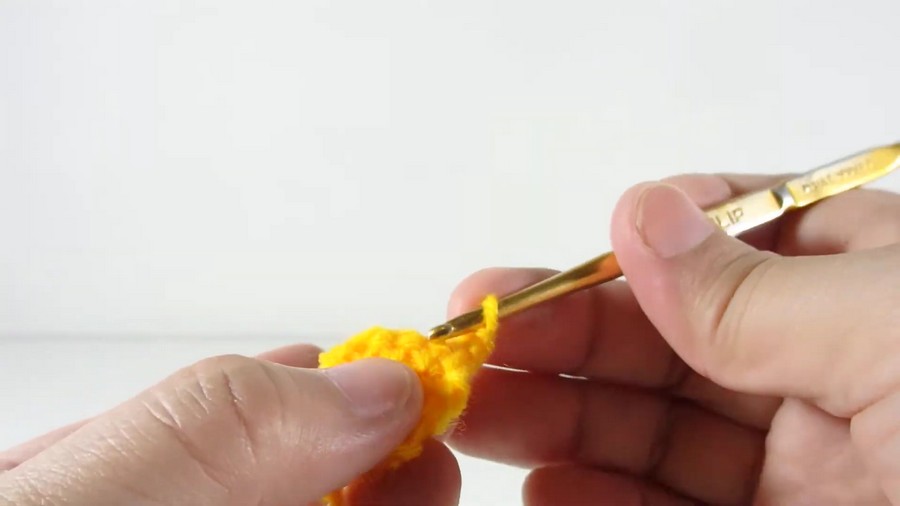
- Yarn: Crochet yarn suitable for Amigurumi. (The specific color or weight isn’t given, but a yellow yarn is typically used for a duck.)
- Hook: A crochet hook appropriate for your chosen yarn.
- Stuffing: Polyester fiberfill (ใยโพลีเอสเตอร์).
- Eyes: Small beads (ลูกปัด) are used for the eyes.
- Tools: Tapestry needle and optional sewing pins for assembly.
- Uses: Small toy or decorative keychain.

Each stitch contributes to its lifelike features, from its tiny wings to its bright, curious eyes, offering subtle details that make it visually captivating. Practical yet charming, this crochet duck combines nostalgia, comfort, and playful elegance in one petite figure.
Whether perched on a shelf, tucked beside a pillow, or held in tiny hands, it brings an enduring sense of joy, personality, and gentle beauty that enriches everyday spaces.
Special Features & Tutor’s Suggestions
Special Features
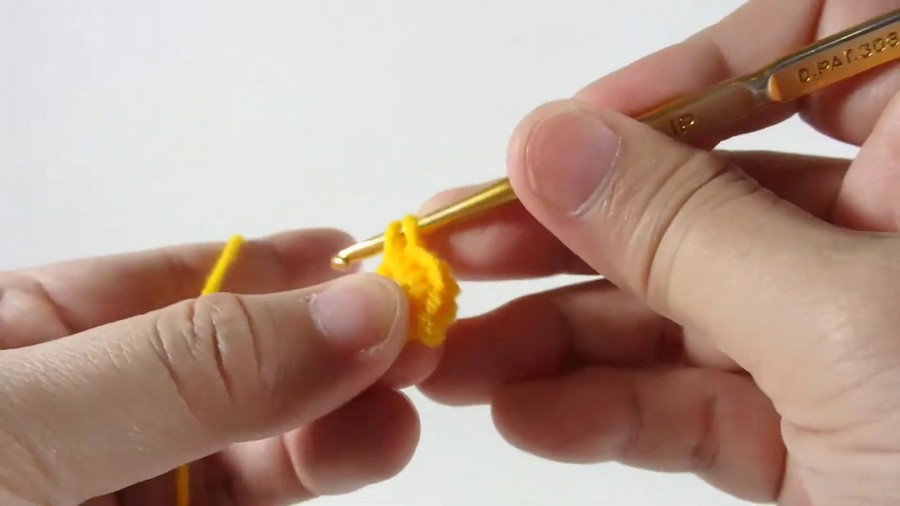
- Simple Pattern: The construction is basic and shares a simple six-single-crochet increase/decrease pattern common to many small Amigurumi shapes, making it easy to follow.
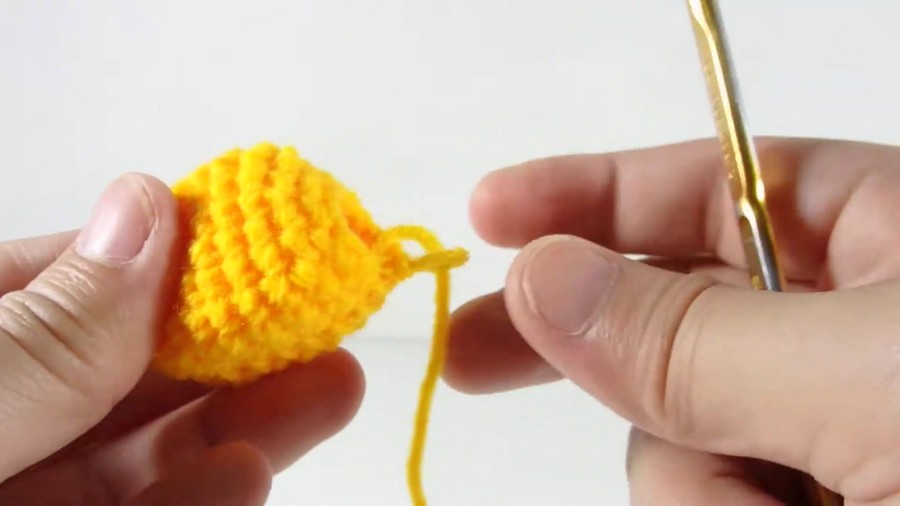
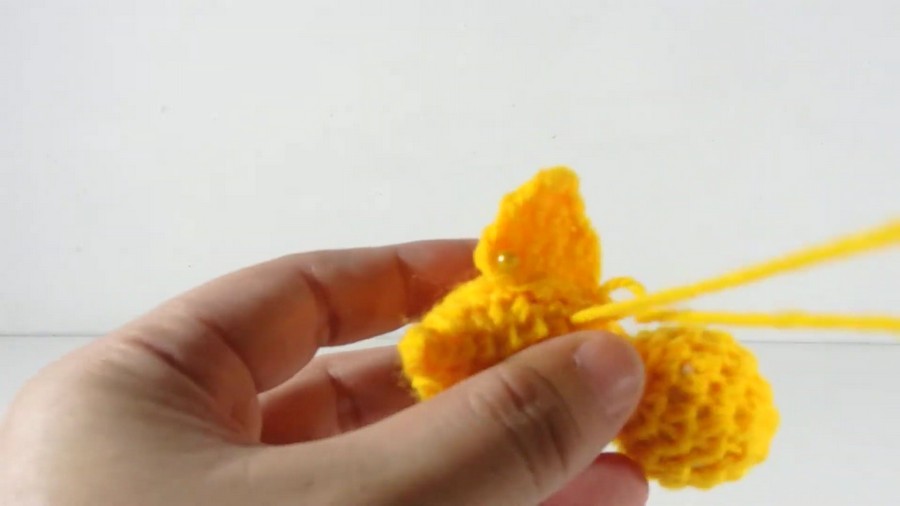
- Separate Pieces: The duck is built from four simple, separate pieces (Head/Body, Wings, Beak, Legs) that are then sewn together.
Tutor’s Suggestion
- Stuffing First: When the main body opening starts to narrow (around the 9th or 10th round), the tutor emphasizes that you must stop and stuff the fiberfill firmly. This is crucial for giving the duck’s body and tail the correct shape before the opening becomes too small to work with.
- Assembly Aid: Use sewing pins to temporarily attach the wings and legs to the body before you start sewing. This ensures the pieces are positioned symmetrically and prevents shifting during assembly.
- Leg Movement: When attaching the legs, sew only the perimeter (the outside edge) of the leg piece to the body, leaving the middle section slightly detached. This allows the legs to have a natural, flapping motion.
Level of Difficulty
The project rates as Beginner to Easy. It uses only the most fundamental crochet stitches (single crochet, increase, and decrease) and composes small, simple pieces.
Step by Step Guide
The video provides a clear pattern on how to crochet a small, simple Amigurumi duck, a project perfect for beginners looking to create quick children’s toys or decorative pieces.
Conclusion
This tutorial successfully teaches the basic skills needed to create a charming, small Amigurumi duck using simple, repetitive crochet techniques. By completing the separate pieces and following the final assembly instructions, a cute little crocheted bird is ready for play or display.
Final Tip
To keep your yarn colors organized when working on the striped body of an animal (or if you were to change colors for this duck), keep your yarn strands untangled by running each color through a separate loop or hole in the project bag you are using. This prevents the working yarns from twisting together.


