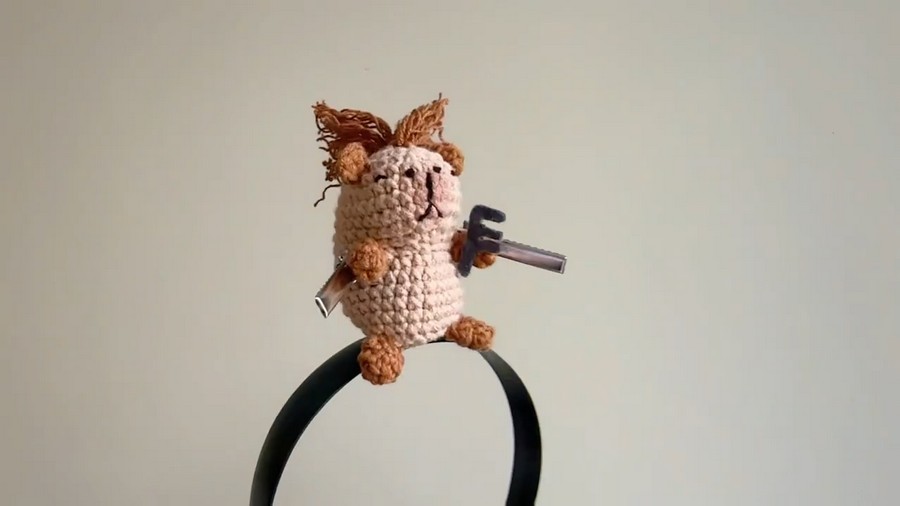
Charm your space with this Crochet Capybara Pattern, adding adorable details, playful textures, and a touch of cozy charm to your décor.
Cozy Crochet Capybara Pattern for Home Decor

Gentle and calm, the capybara has long captured hearts with its serene presence and friendly nature. This crochet capybara brings that same quiet charm to life, offering a soft and huggable companion that fits perfectly on a shelf, desk, or nursery corner. Its rounded body, thoughtful expression, and small, endearing features make it a delightful gift, a collectible keepsake, or a comforting presence for children and adults alike.
Materials and Uses
- Yarn: You use two main colors of Miu Cotton 50g yarn: Color 26 and Color 18 (brown and light brown/tan).
- Hook Size: You use a 2.5 mm crochet hook.
- Tools & Embellishments:
- Yarn needle for sewing.
- Small amount of black yarn for facial features (eyes, nose, mouth).
- Stuffing (Bông) for filling.
- Optional: Brown chalk/blush for adding color to the muzzle.
- Optional: Felt fabric to cut into a comb shape (lược).
- 2 hair clips (4 cm duckbill clips) and a hairband blank (phôi bờm) to attach the capybara.
- Hot glue gun (súng bắn keo) for assembly (or you can sew for a better finish).
- Uses: You create a fun, wearable hair accessory (headband/bờm), a hair clip decoration, or a unique Amigurumi collectible.
The figure stands out through its careful shaping and subtle details.
Its smooth contours, expressive face, and gentle posture give it a lifelike yet whimsical quality, while light stuffing ensures it maintains a plush, approachable form.
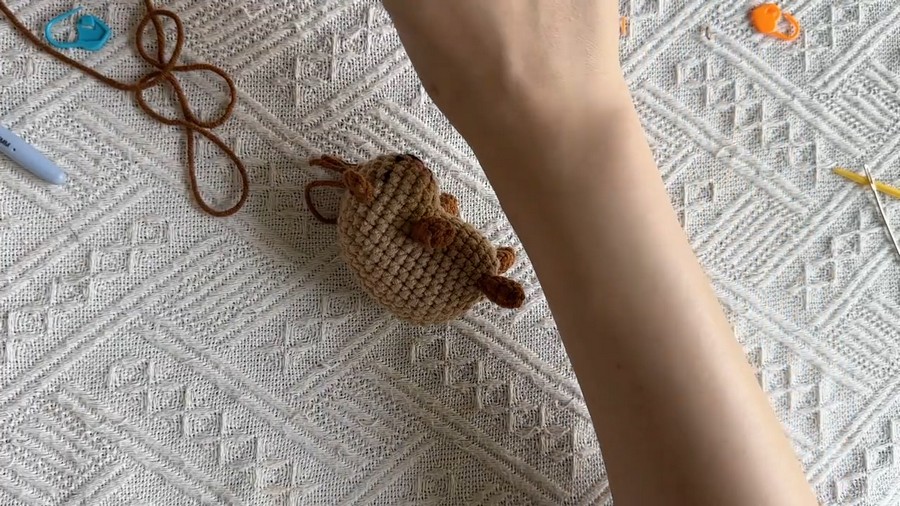
Every element—from the short limbs to the rounded ears—is thoughtfully proportioned, creating a balanced and huggable piece.

The project is approachable for beginners while offering satisfying precision for more experienced makers who enjoy attention to detail.
Level of Difficulty & Tutor’s Suggestions
Level of Difficulty: Intermediate
This project requires proficiency in Amigurumi, working with different stitch patterns, and detailed facial embroidery. The complexity comes from the shaping of the large head/body and the delicate hair creation.
Tutor’s Suggestions
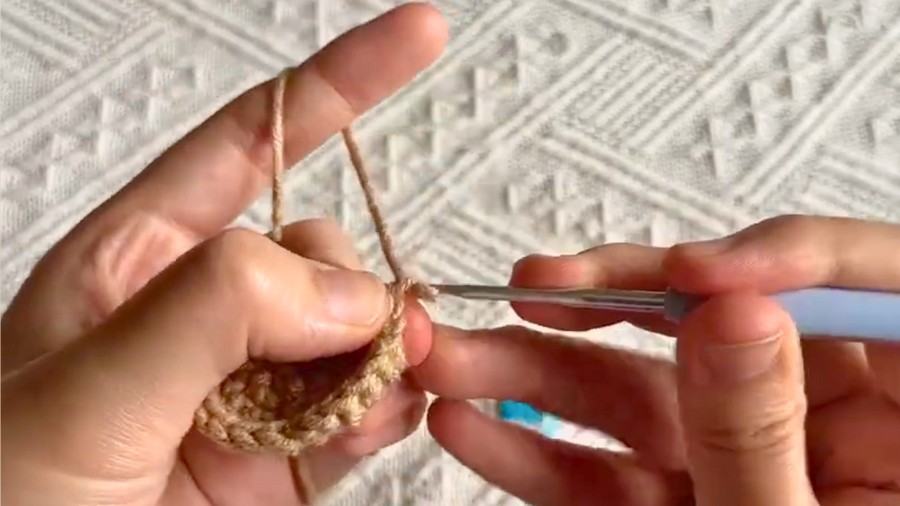
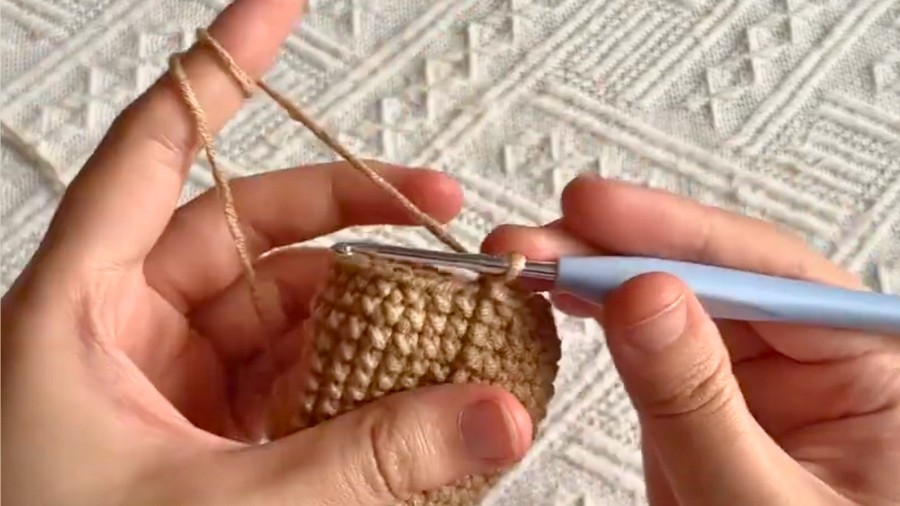
- When you crochet the initial chain stitches for the head, you use the “X-stitch” technique (kim nằm trên len) for a tighter, neater fabric.
- The tutor chooses to use a hot glue gun to attach the capybara to the hairband for faster production, but suggests that you can sew it for a more secure and aesthetically pleasing finish.
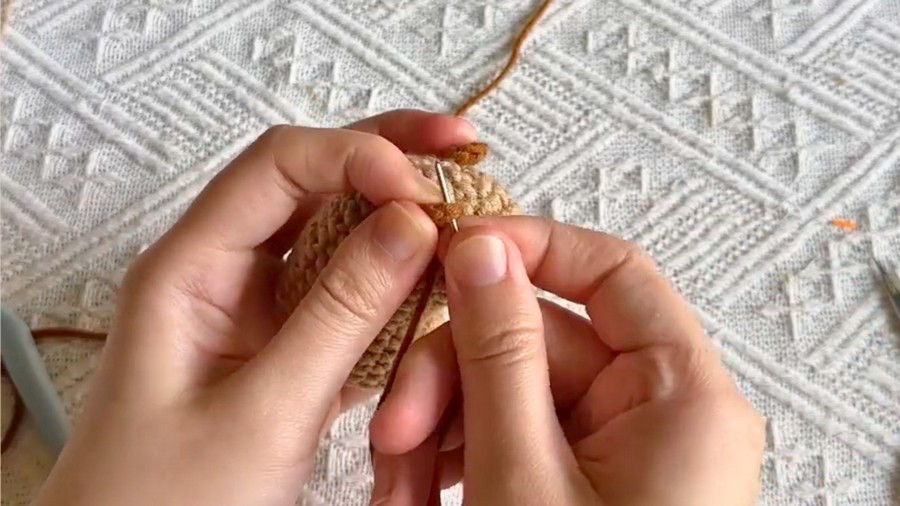
- You must remember to flip the small arm and leg pieces right-side-out, as they naturally curl to the wrong side after crocheting.
- You do not need to stuff the small arms, as the tight crochet will maintain their shape.
Special Features
- Headband/Hair Clip Accessory: The finished capybara is designed to be mounted onto a metal hairband blank or two small hair clips, turning it into a wearable accessory.
- Unique Head Shaping: The pattern uses strategically placed increases and decreases to create the characteristic, boxy, slightly protruding muzzle shape of a capybara.
- Textured Hair Tuft: You create the capybara’s hair by threading individual strands of yarn onto the top of the head and then fraying or separating the plies of the yarn with a sharp needle to create a fluffy, messy “hair” texture.
- Detailed Facial Embroidery: You use black yarn to embroider small, simple features, including eyes, a nose (made with a wrapping/French knot-like technique), and a straight mouth.
Step by Step Guide
In this tutorial, you learn to crochet an adorable Capybara Amigurumi designed to be attached to a hairband or headpiece. You create a plush, detailed capybara figure, complete with small limbs, facial features, and a unique textured “hair” tuft on its head. This is a trendy project, perfect for personal use or selling.
Conclusion
You successfully complete the construction of the fashionable Capybara Amigurumi headpiece. You have mastered complex shaping for the body, detailed facial embroidery, and the creative technique for texturing the hair tuft. The finished piece is a charming and trendy accessory, ready to be worn or gifted.
Final Tip
For a professional-looking and secure hair accessory, you should sew the capybara onto the headband or hair clips instead of using a hot glue gun. Sewing provides a stronger, more durable connection that will withstand repeated use and handling.


